Agilicus Connector Windows Cluster
To enable High Availability in the Agilicus Connector in a Windows environment (e.g. for resilient access to a Share, to remote desktops), configure it within a Windows Failover cluster.
The high level instructions are:
- configure a windows failover cluster with a shared disk of at least 200MiB.
- Install the Agilicus Connector into the shared disk on one of the servers. See below for specific instruction.
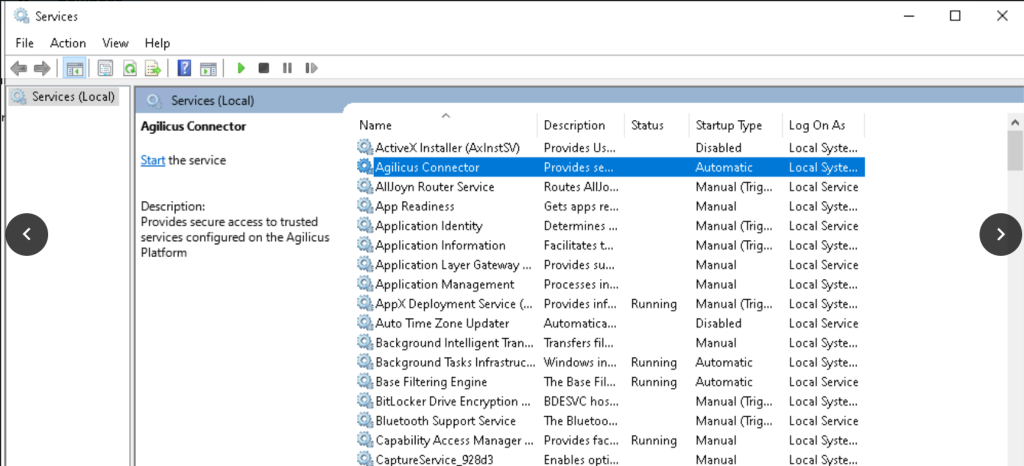
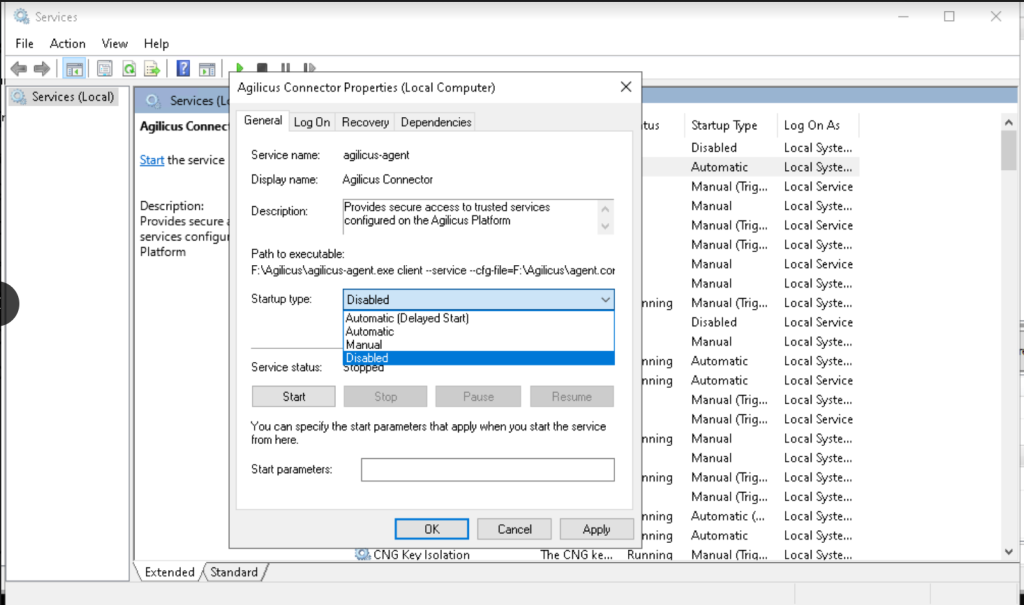
- Stop the service on the node and set it to Disabled
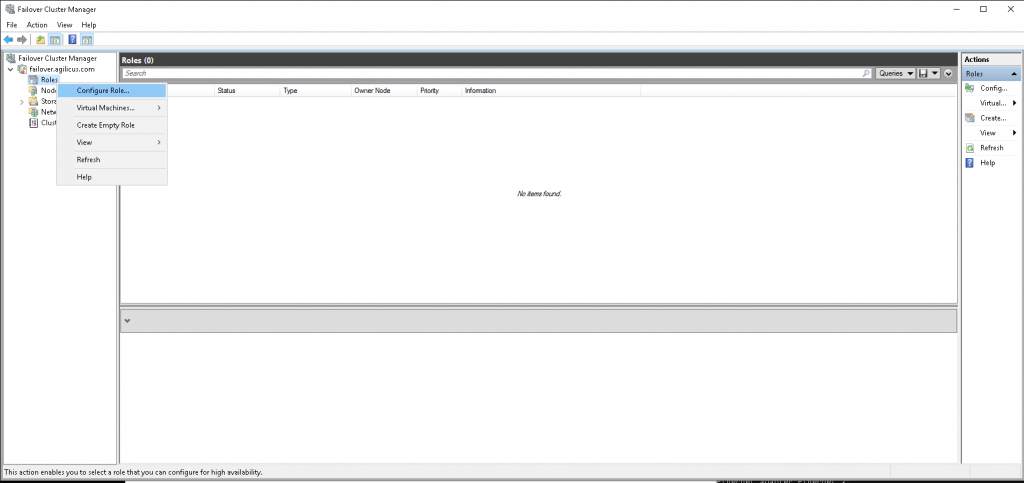
- Open the failover cluster manager
- In your cluster, select Roles-> add new roles
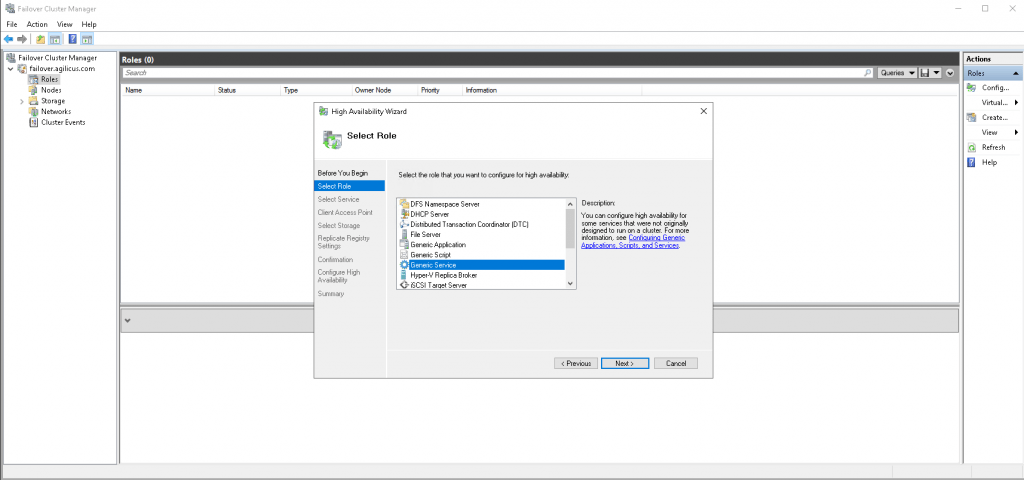
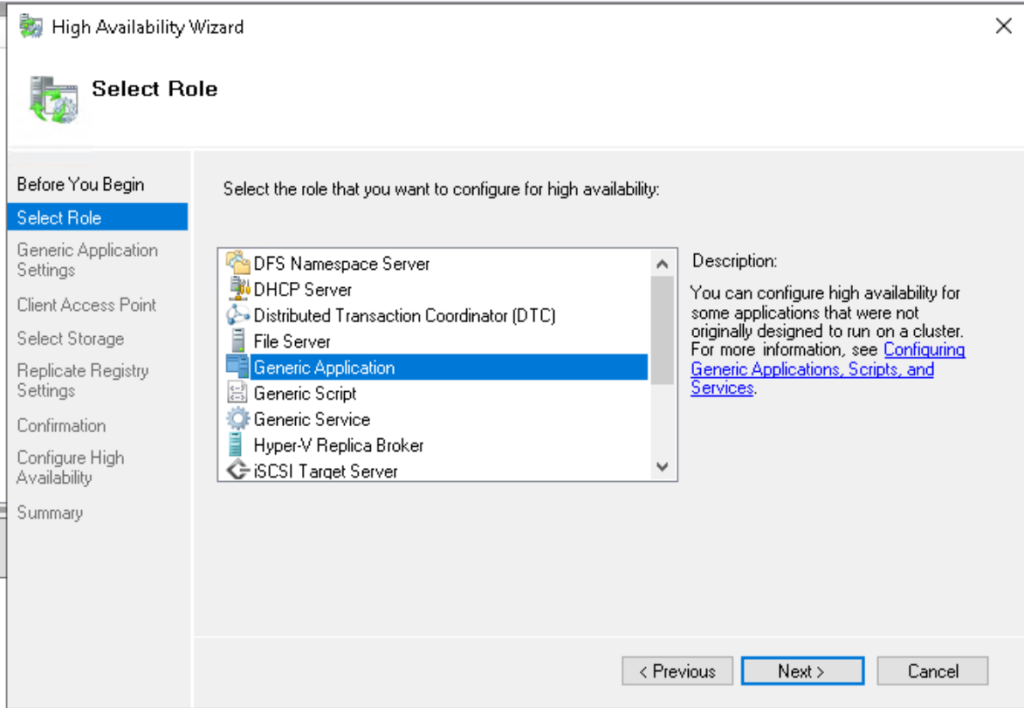
- Click next, select the “Generic Application” role
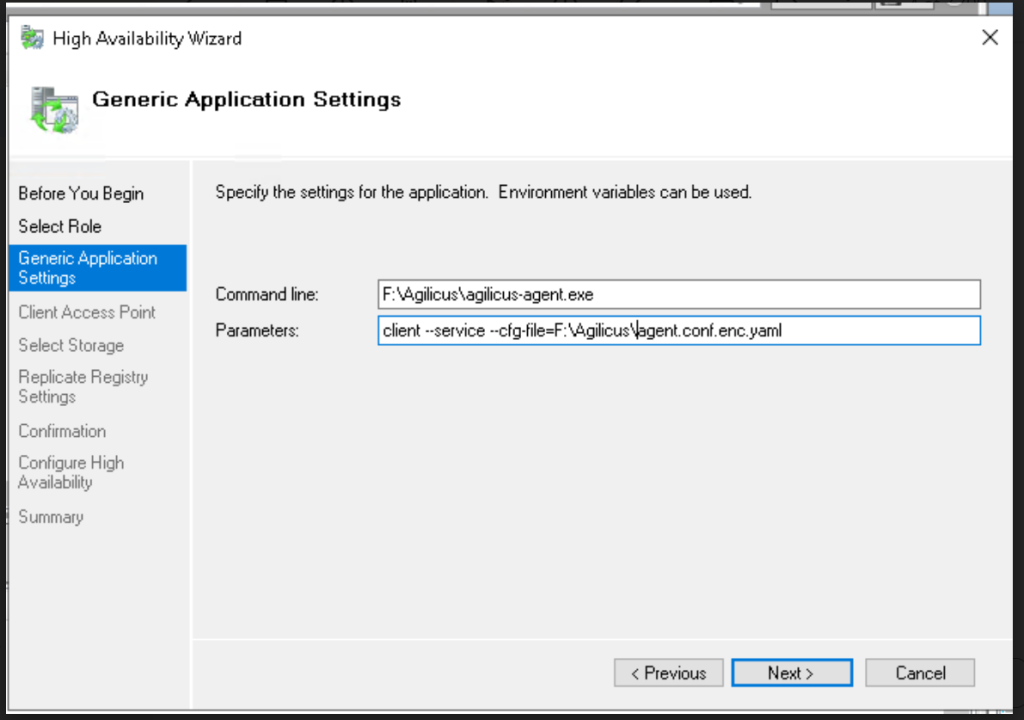
- For the command line, enter F:\agilicus-agent.exe (the working directory from the install instructions, the shared disk)
- name the service something unique (e.g. “agilicus-connector”)
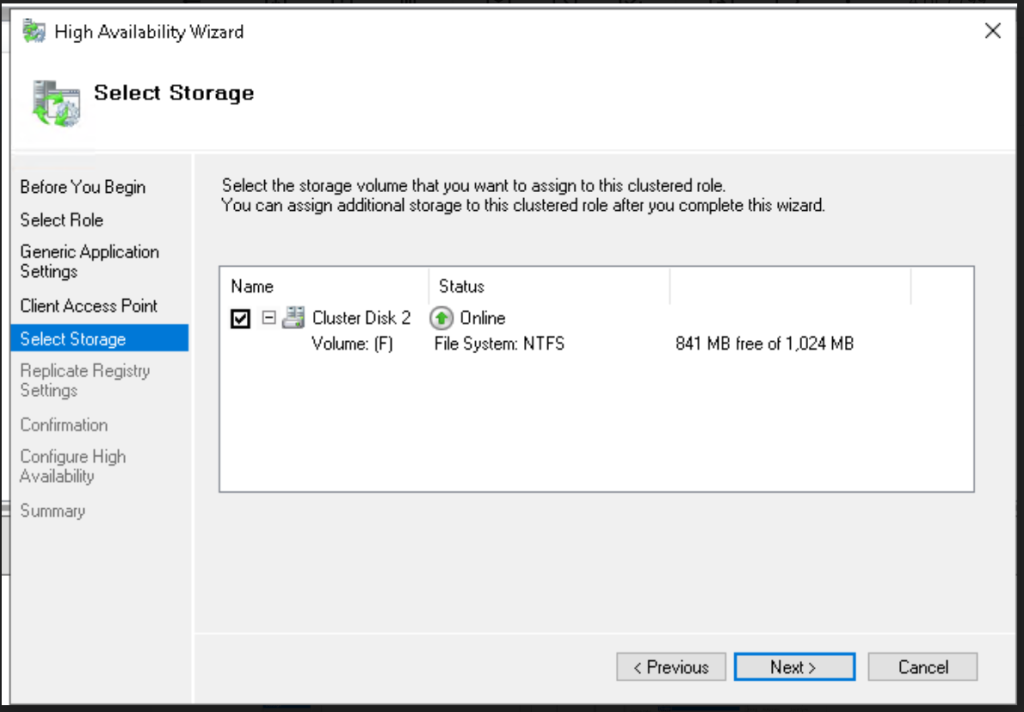
- Add the storage (e.g. F: in our example)
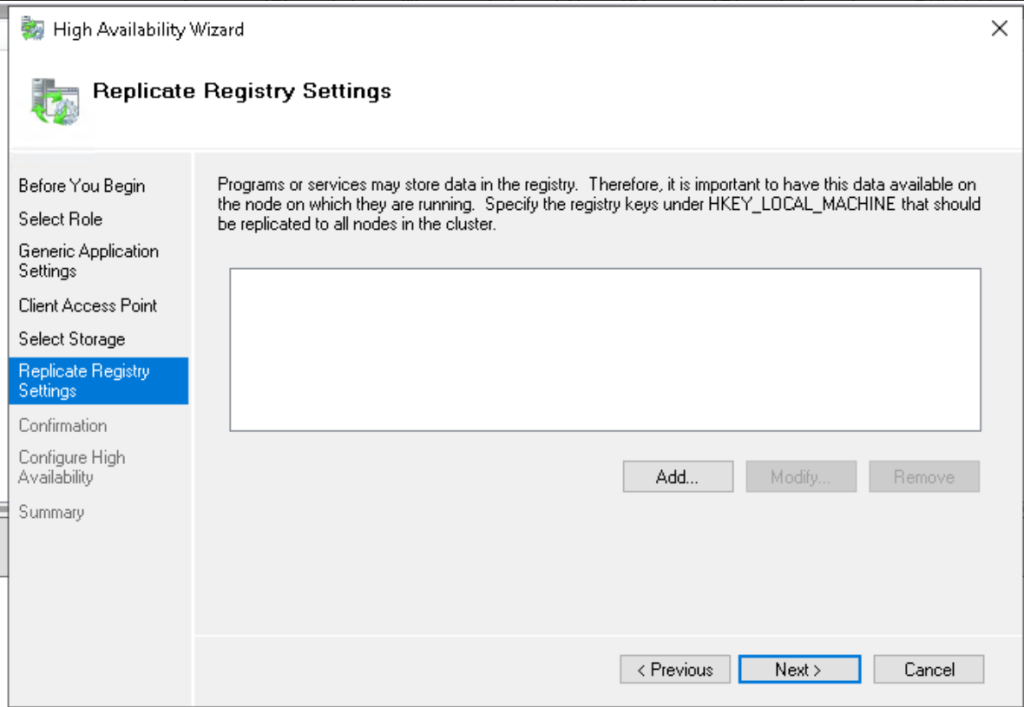
- Don’t register settings
- Click confirm, finish
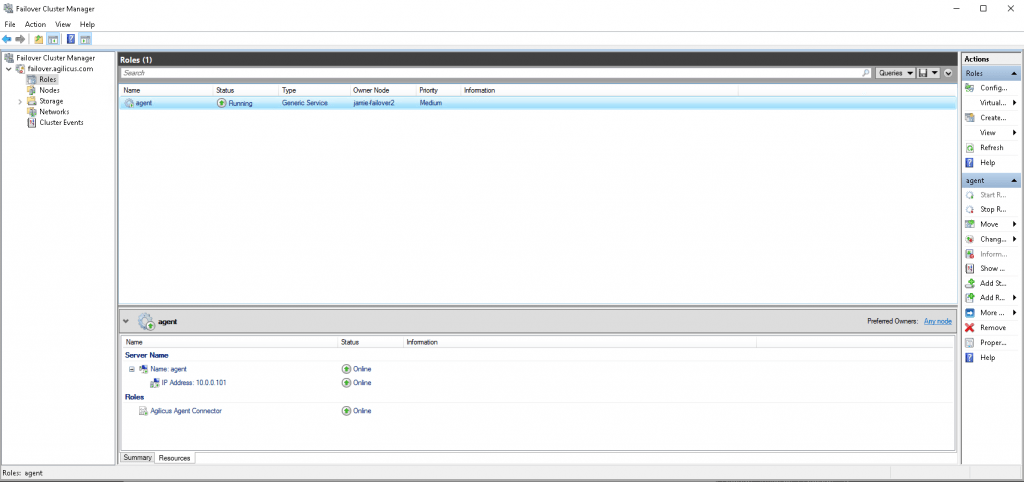
- Verify the Agilicus connector is running
Connector Install
On one of the servers in the cluster, we will perform the install as normal, with one modification.
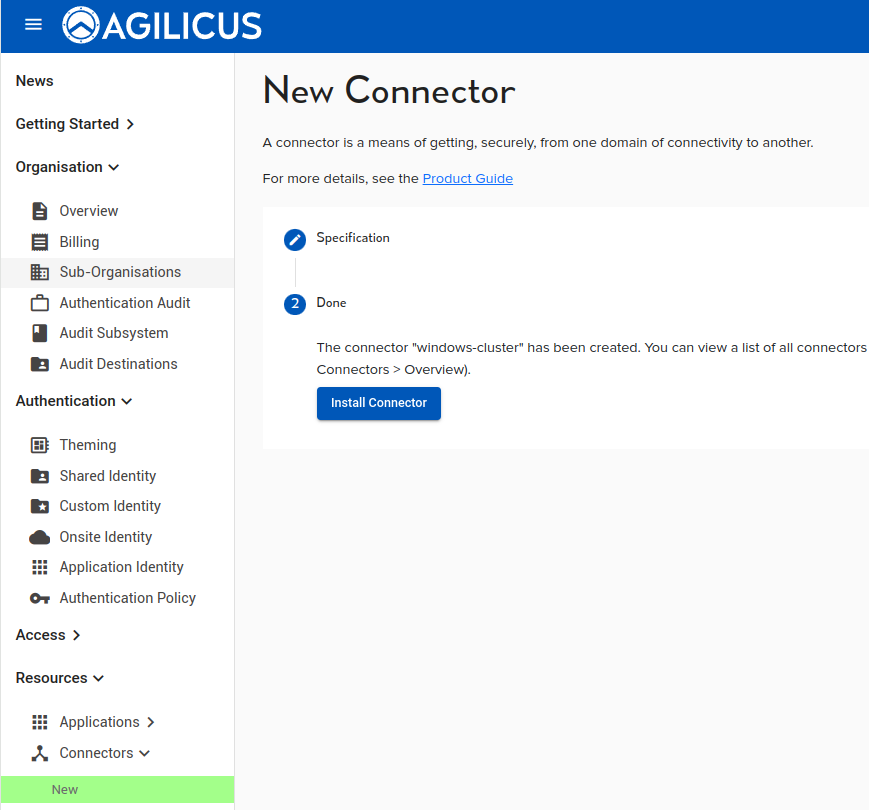
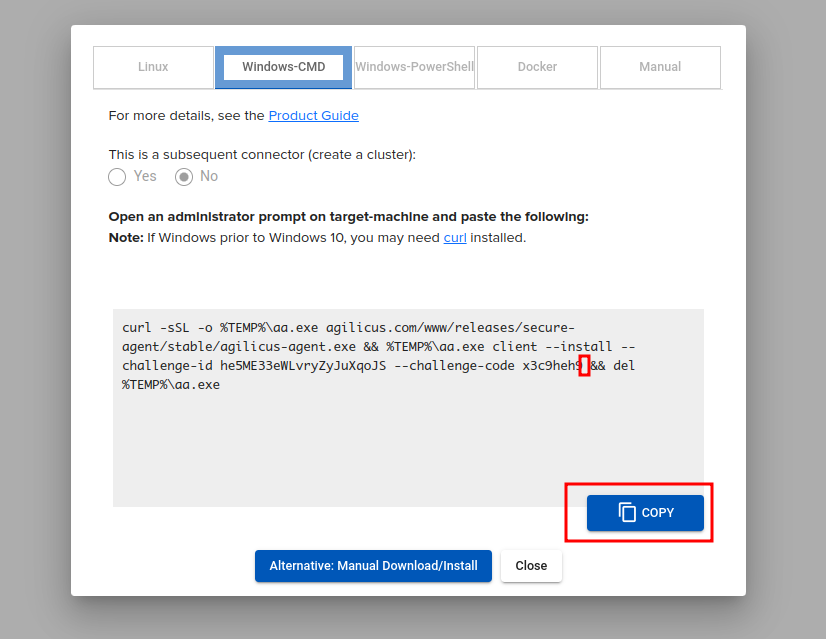
Open a browser (on any machine, does not need to be the windows cluster), sign in to the Agilicus Admin web interface, create a new connector, select the appropriate OS tab, and copy.
On the machine in the server cluster, open an administrative shell, paste the command line. DO NOT PRESS ENTER. Add a command line parameter of ‘–working-directory <PATH>’ where <PATH> is the shared folder (e.g. F:\Agilicus).
For cmd, the sample command would then look something like below:
curl -sSL -o %TEMP%\aa.exe agilicus.com/www/releases/secure-agent/stable/agilicus-agent.exe && %TEMP%\aa.exe client --install --working-directory F:\Agilicus --challenge-id xxxxxxxxxxxx --challenge-code xxxxxx --debug && del %TEMP%\aa.exe
If you add a Share, ensure that both paths map to the same resource. E.g. ensure that X:\foo is the same on both machines if you will export X:\foo
