Overview
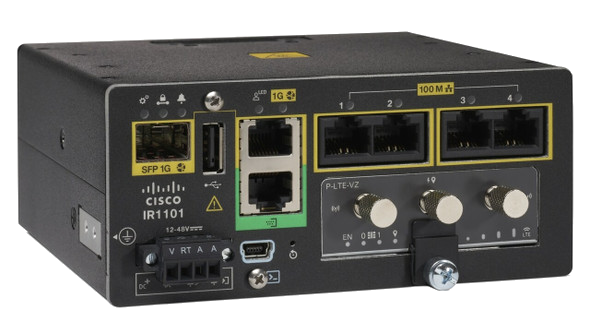
The Cisco IOx family provides an excellent platform to run the Agilicus Connector. In this example we are working with the Cisco IR1101, suitable for rugged, embedded environments.
The instructions below were tested on
Cisco IR1101-K9
17.11.1a
Cisco IOx Zero Trust: Cisco Router Setup
Follow the Cisco instructions on enabling IOx, enabling applications and routing. Some sample config is shown here, but this varies by platform. Key items required:
- Clock sync (ntp, GPS)
- Ability to reach https://www.agilicus.com/
- Ability to reach https://api.agilicus.com/
Below we have achieved this with NAT but you can also use a bridge.
interface VirtualPortGroup0
 ip address 192.168.100.1 255.255.255.0
 ip nat inside

interface Vlan1
 ip address 192.168.2.2 255.255.255.0
 ip nat outside

ntp server 0.pool.ntp.org

ip dhcp pool vg0
 network 192.168.100.0 255.255.255.0
 default-router 192.168.100.1
 dns-server 1.1.1.1
interface VirtualPortGroup0
 ip address 192.168.100.1 255.255.255.0
 ip nat inside

interface Vlan1
 ip address 192.168.2.2 255.255.255.0
 ip nat outside

ntp server 0.pool.ntp.org

ip dhcp pool vg0
 network 192.168.100.0 255.255.255.0
 default-router 192.168.100.1
 dns-server 1.1.1.1

ip name-server 1.1.1.1

iox
ip default-gateway 192.168.2.1

ip access-list standard IOX_NAT
 10 permit 192.168.100.0 0.0.0.255

ip nat inside source list IOX_NAT interface Vlan1 overload
ip route 0.0.0.0 0.0.0.0 192.168.2.1
Cisco IOx Zero Trust: Install
On this platorm we will use a container-based install. This platform does not support standard container registries, so we will install the layers manually.
First, download to your local computer the appropriate file for your platform (amd64 or arm64). The IR1101 in our example is arm64.
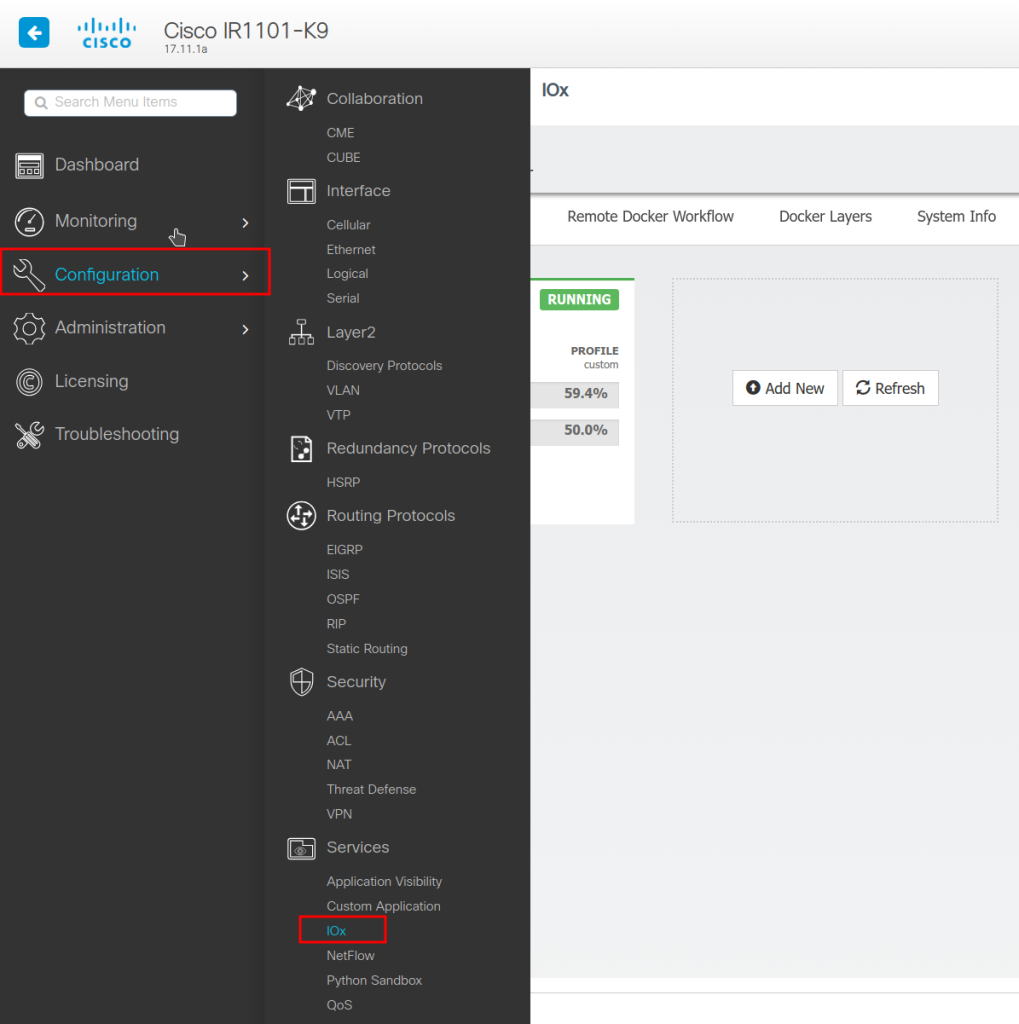
Second, navigate to the IOx web admin, Configuration/Services/IOx.
From here we will:
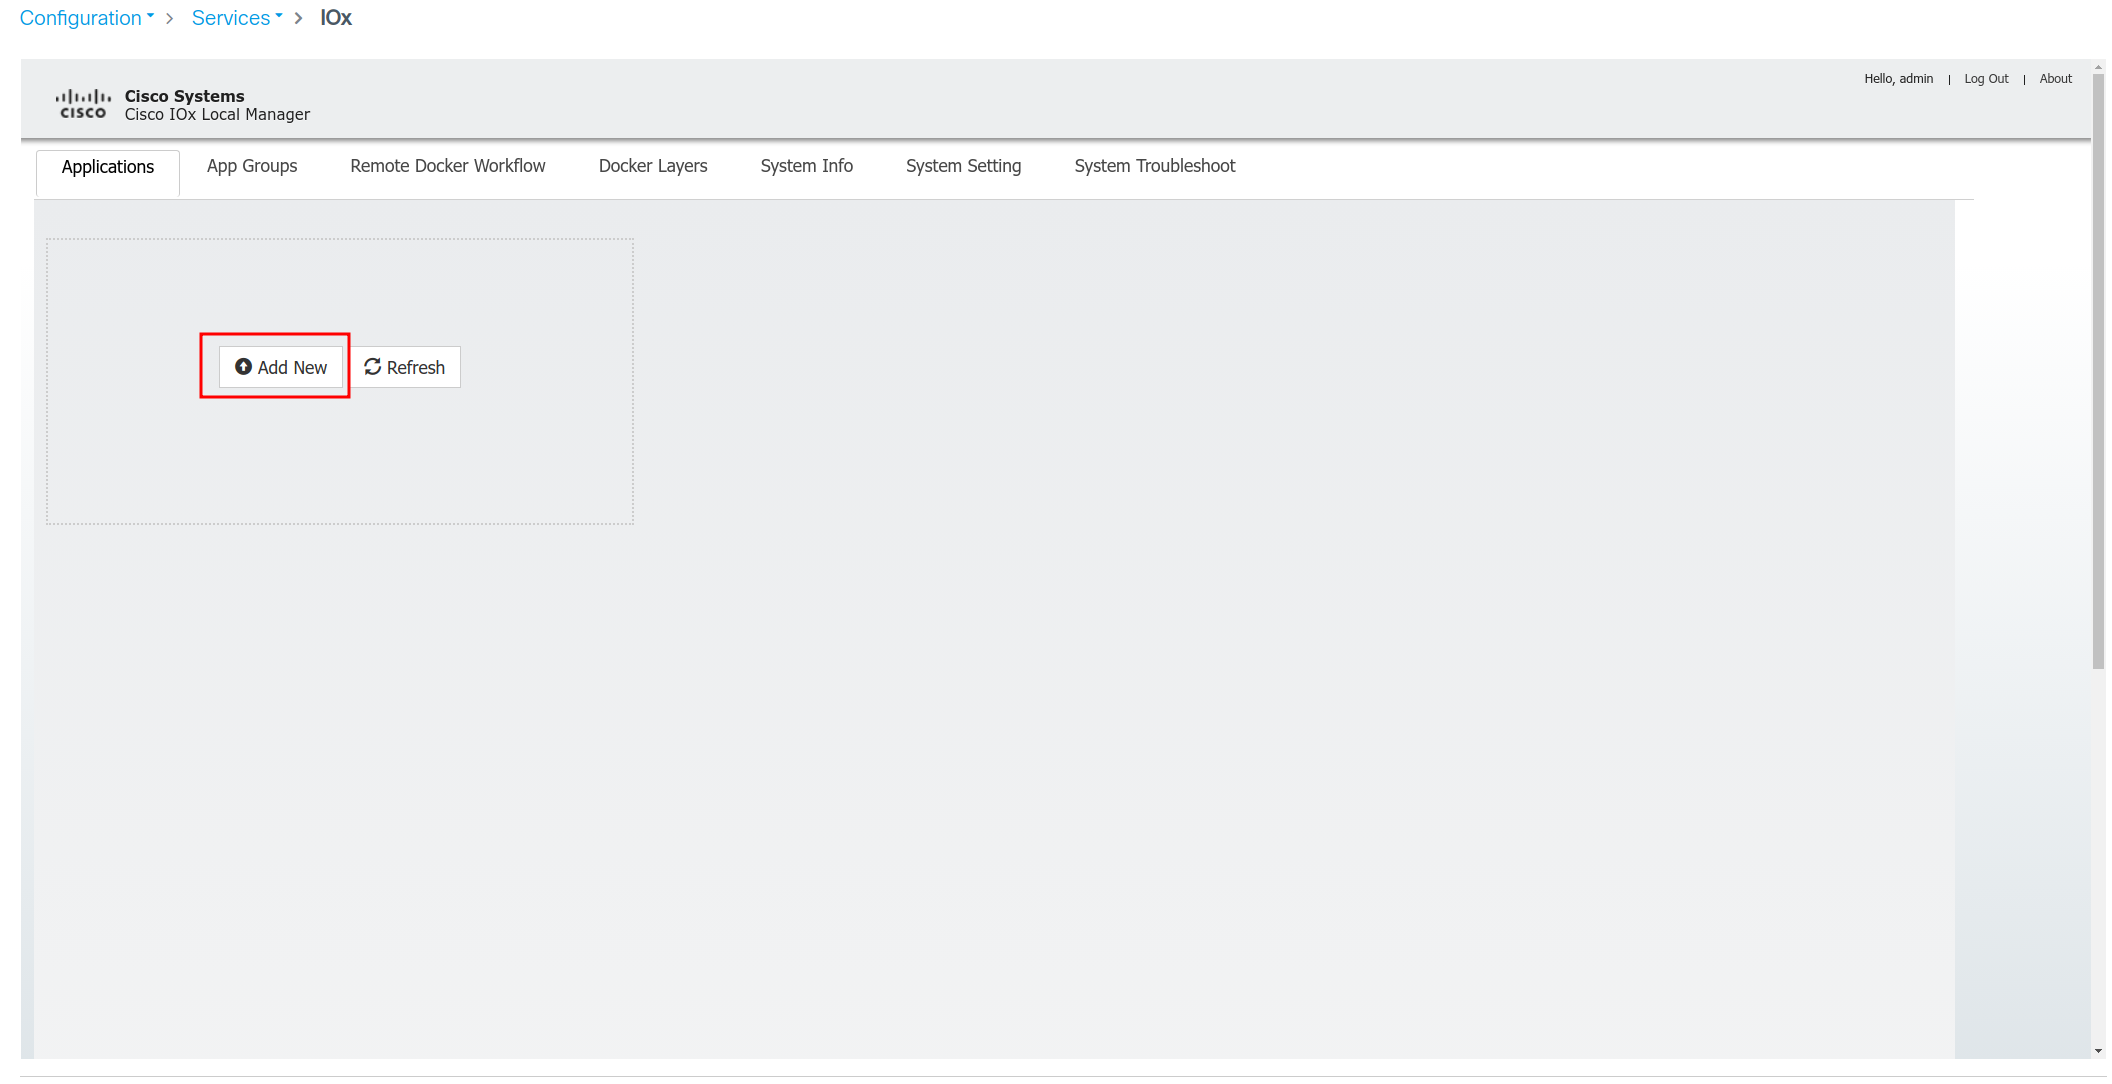
- Create Application
- Upload image (from above)
- Set Profile (ram/disk/cpu)
- Set networking
- Set environment variables (from Agilicus Admin)
- Set configuration volume
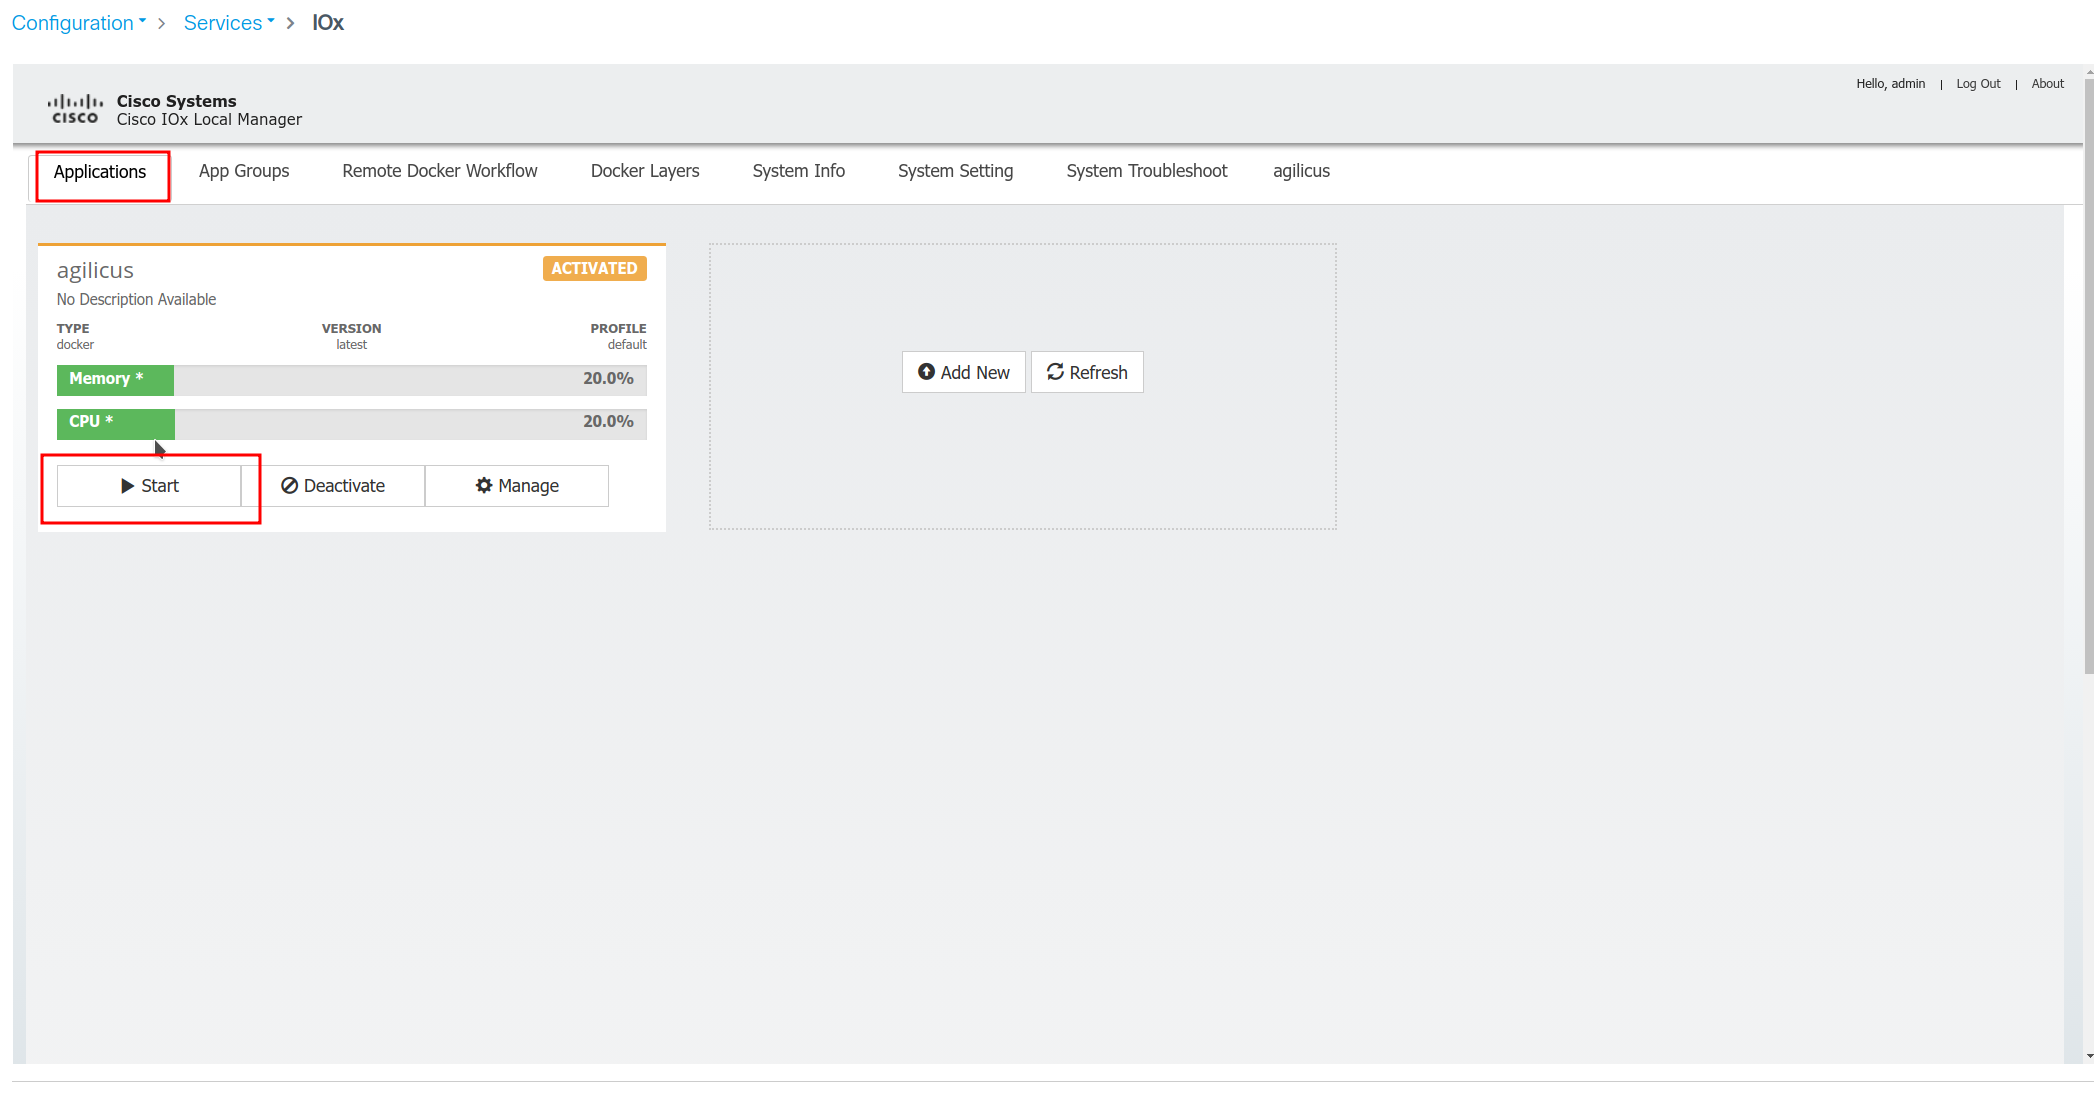
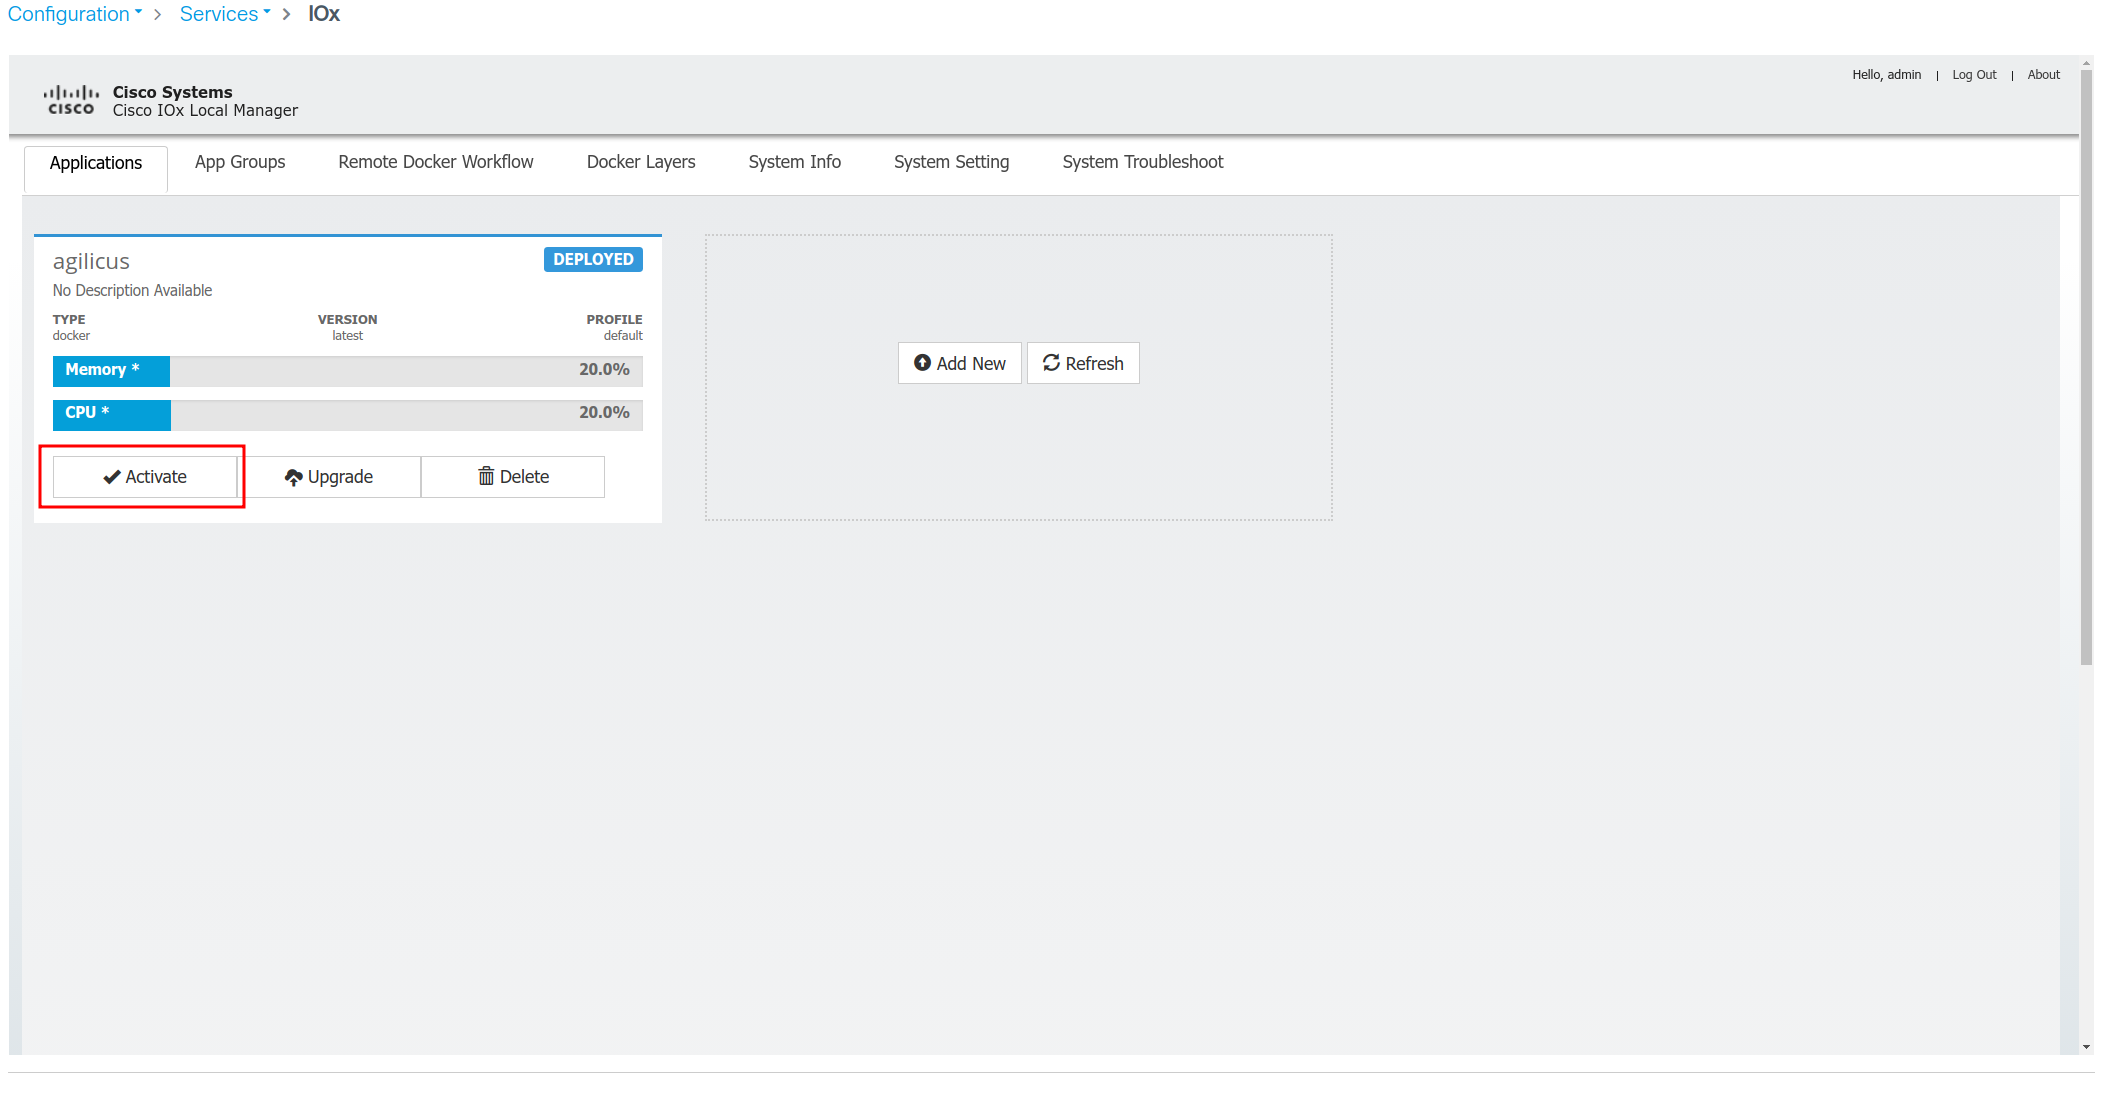
- Activate application
- Start application
at which point the Agilicus connector will be running
Cisco IOx Zero Trust: Detailed Steps
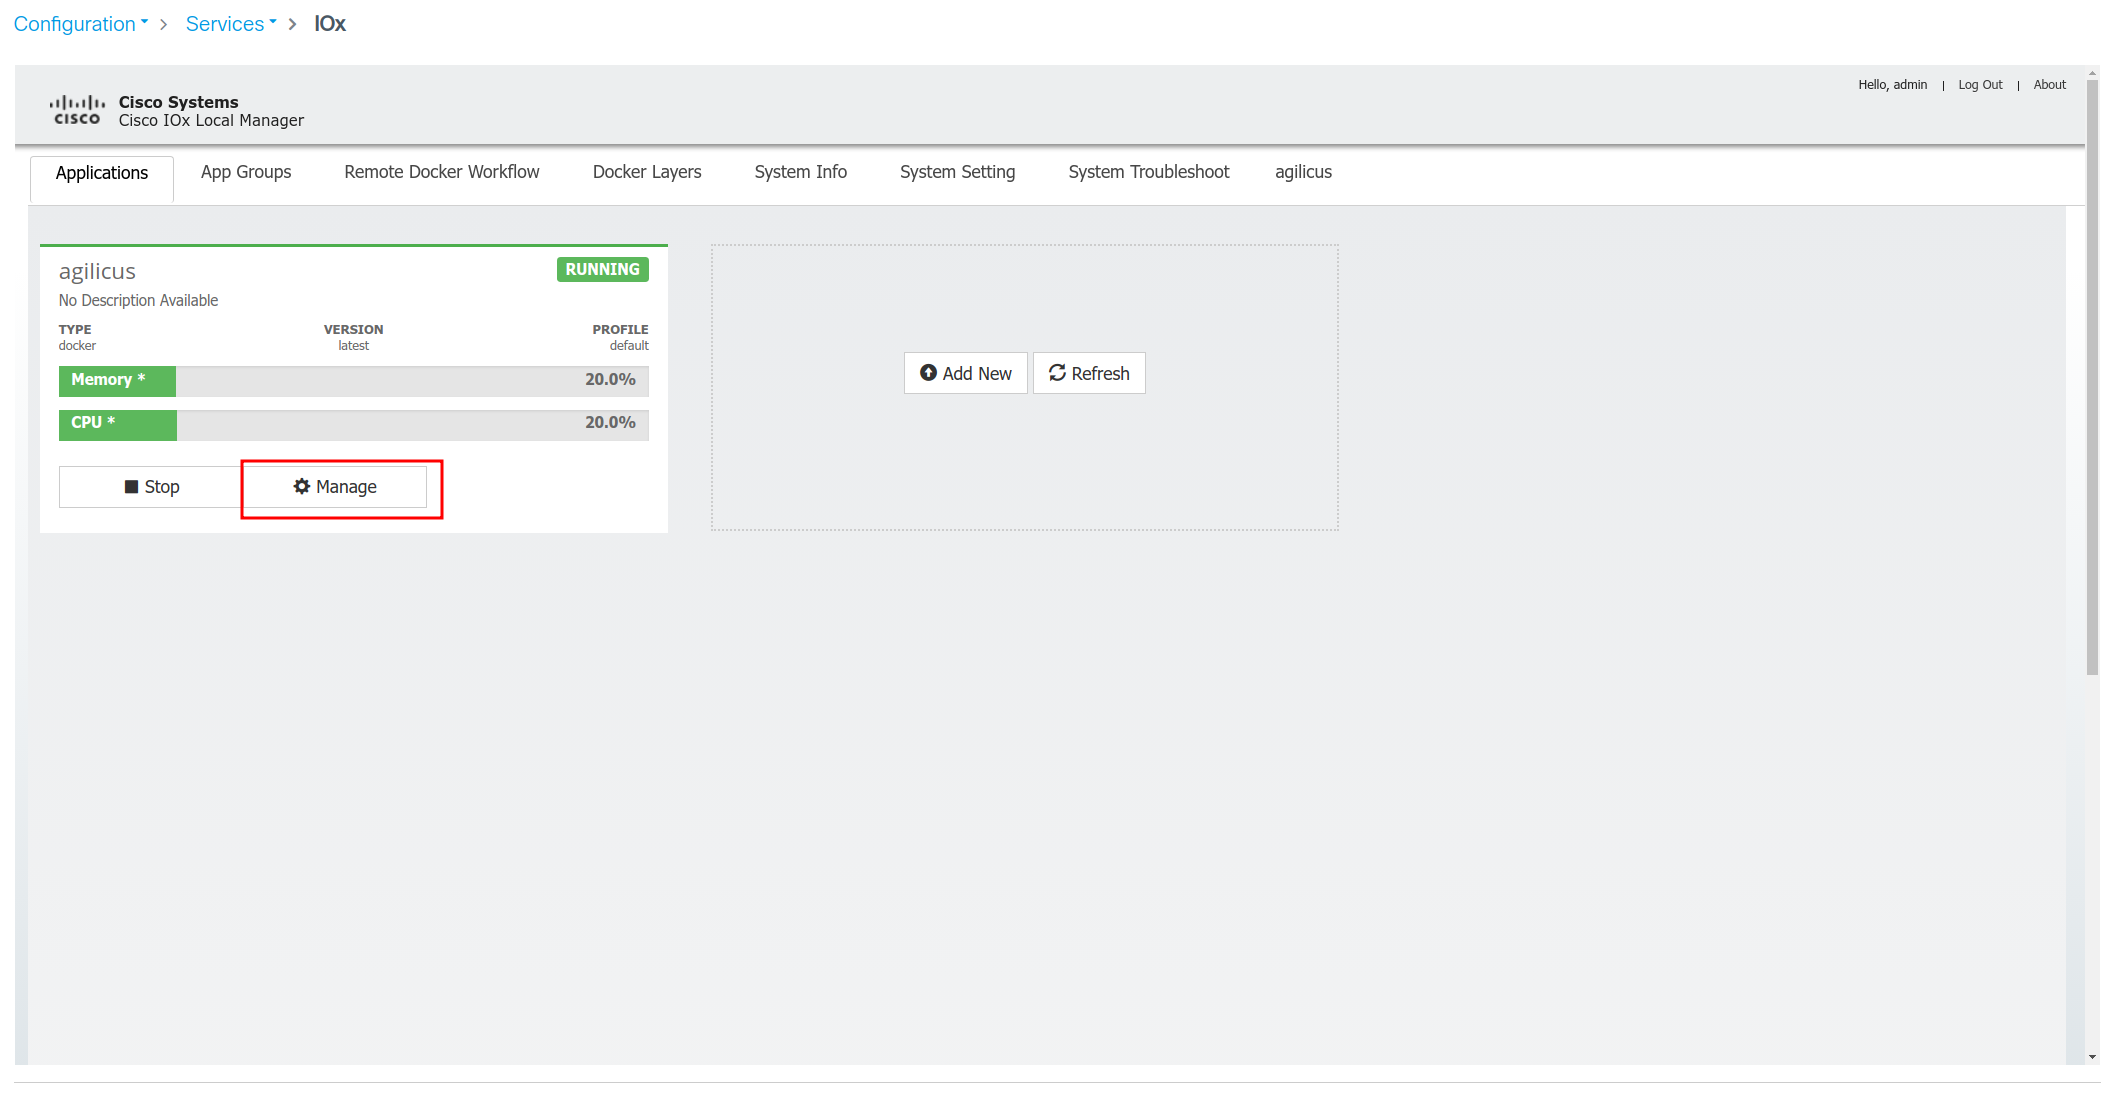
(Optional) Diagnose Application
You can examine the output logs, if needed, via ‘Manage’ and then ‘Log’ and ‘Download’
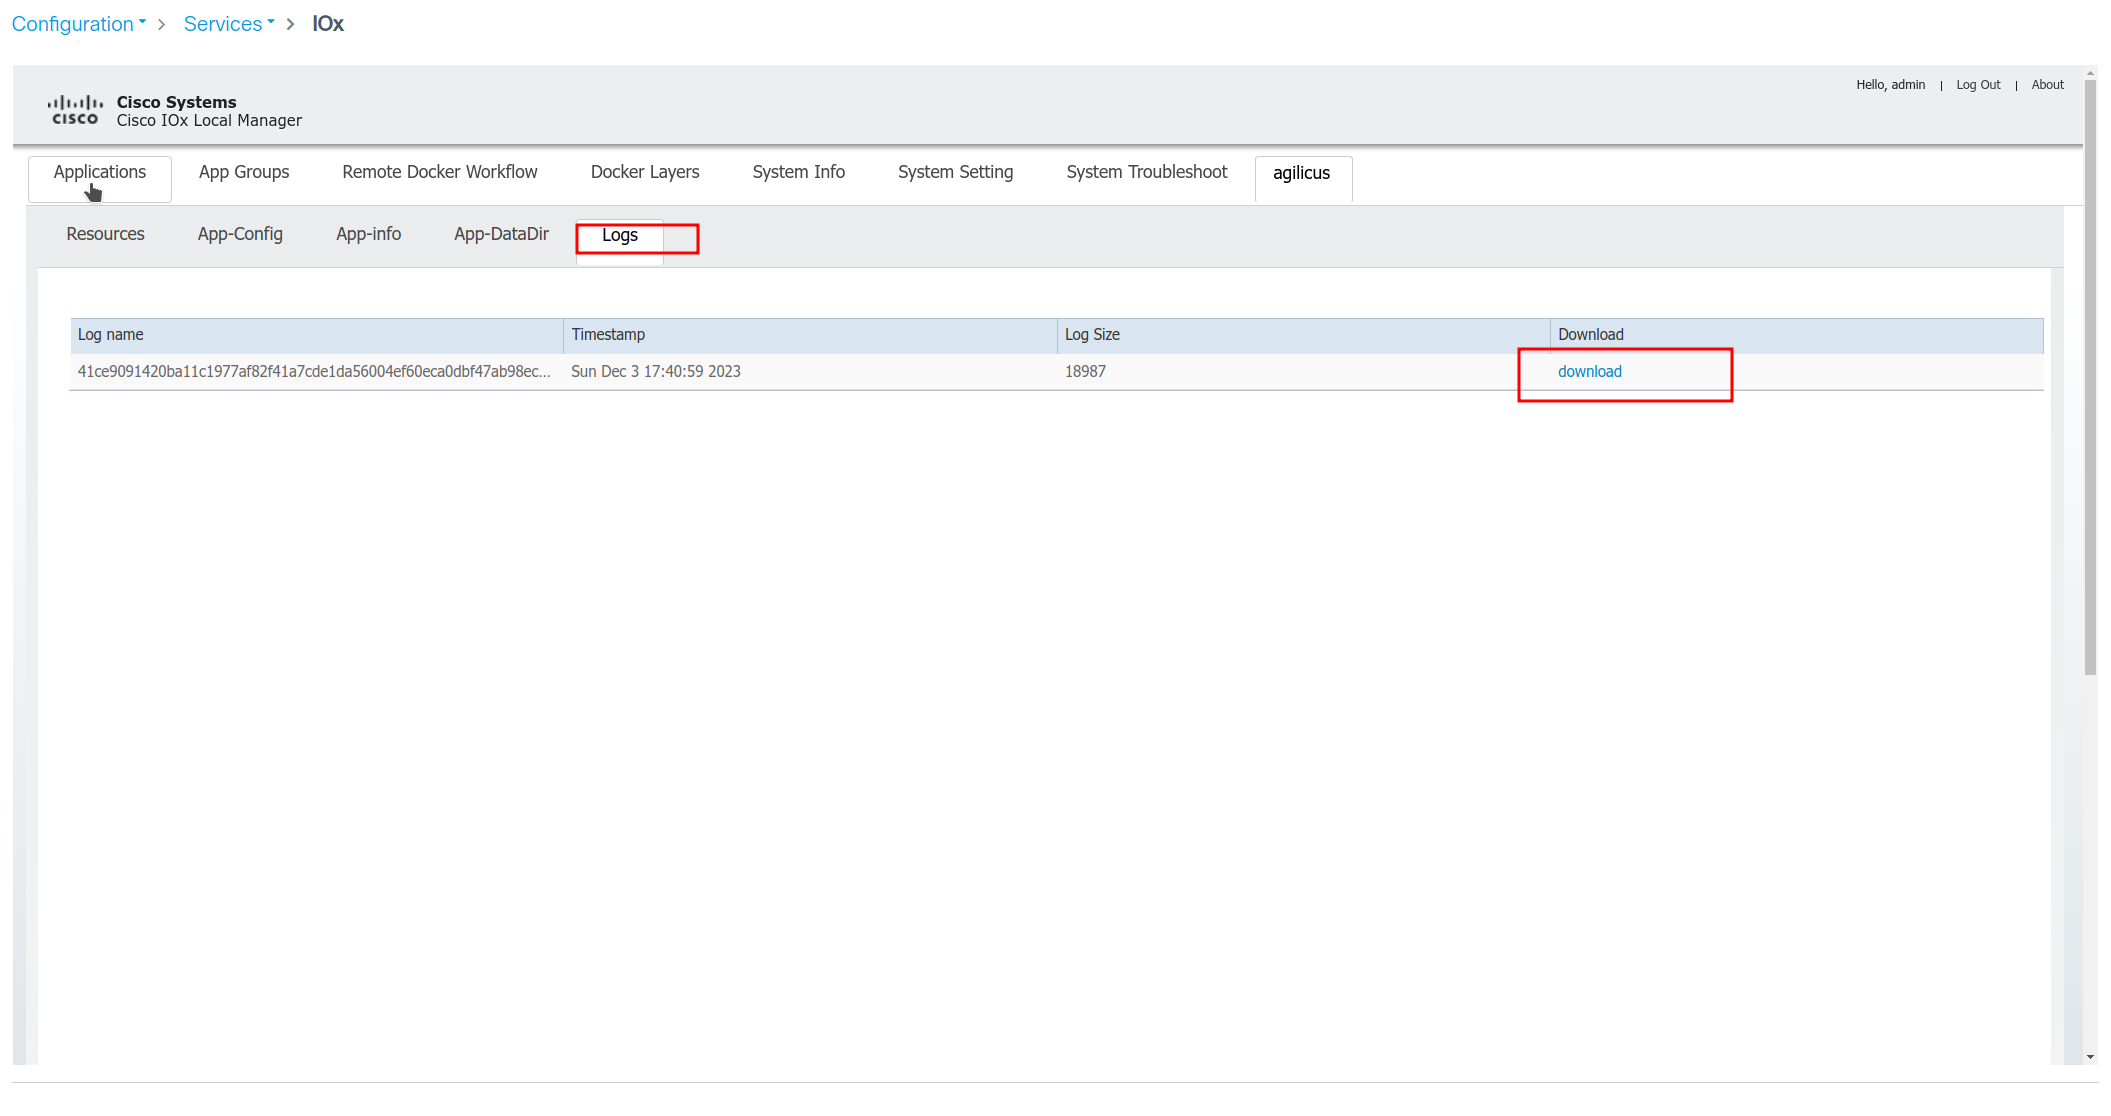
(Optional) Diagnose Application Log
You can examine the output logs, if needed, via ‘Manage’ and then ‘Log’ and ‘Download’
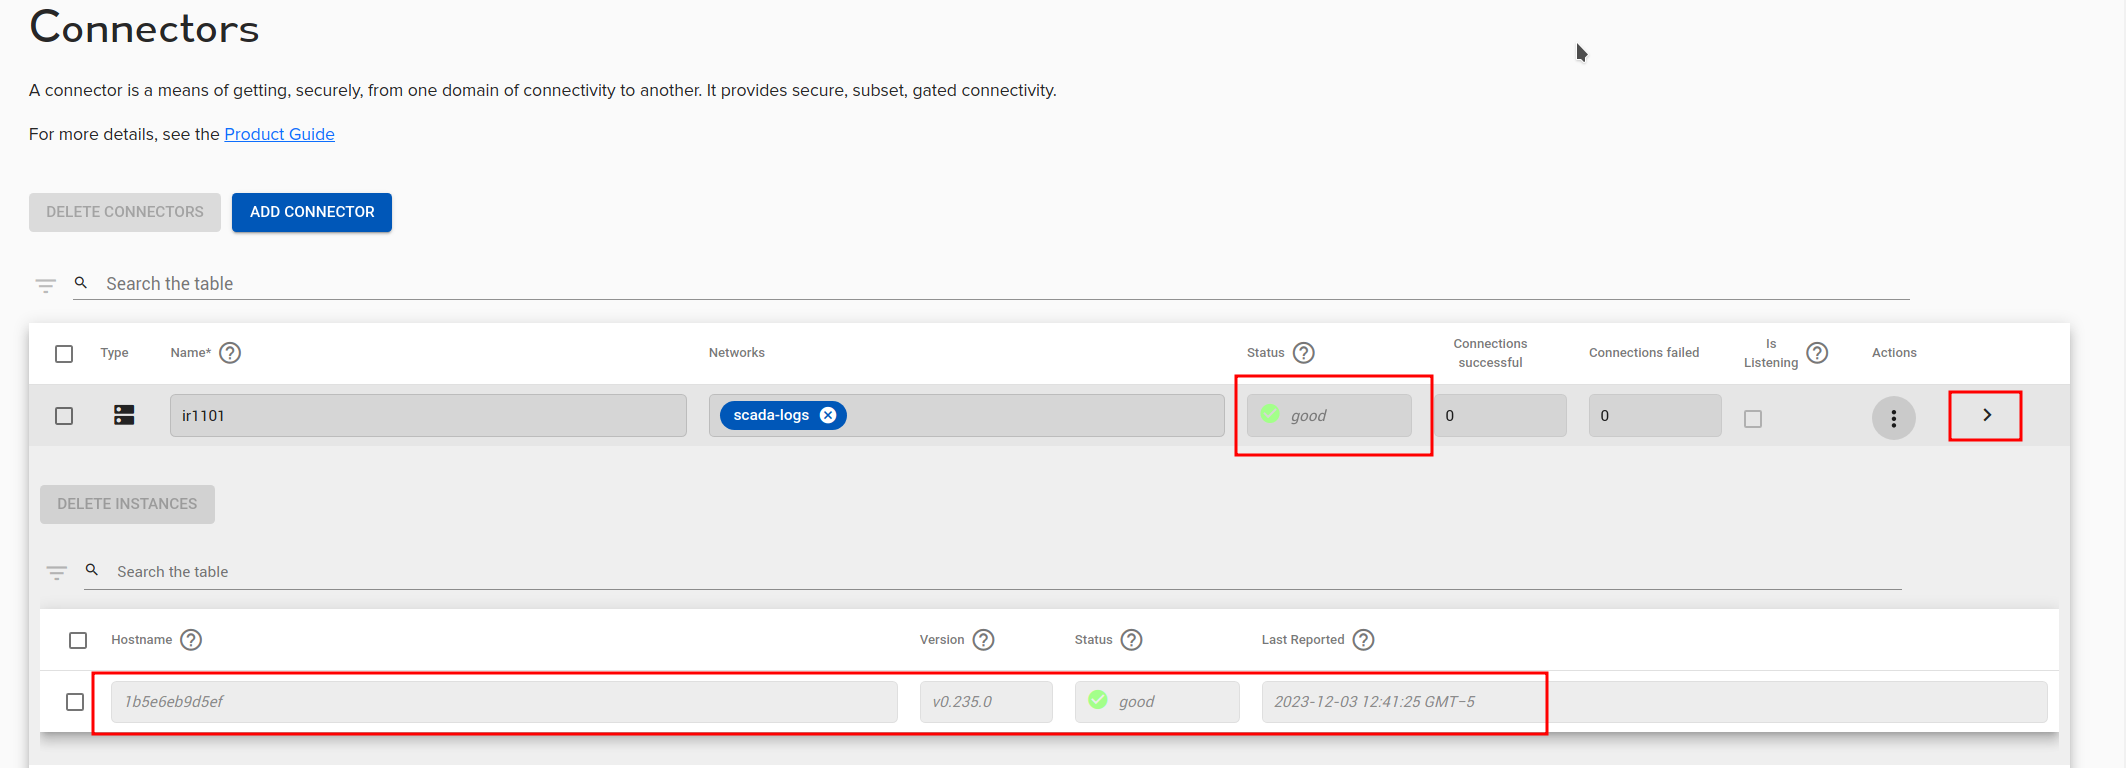
Check Connector Status
Within approximately 90 seconds you should see the Connector come online in the Agilicus admin UI.
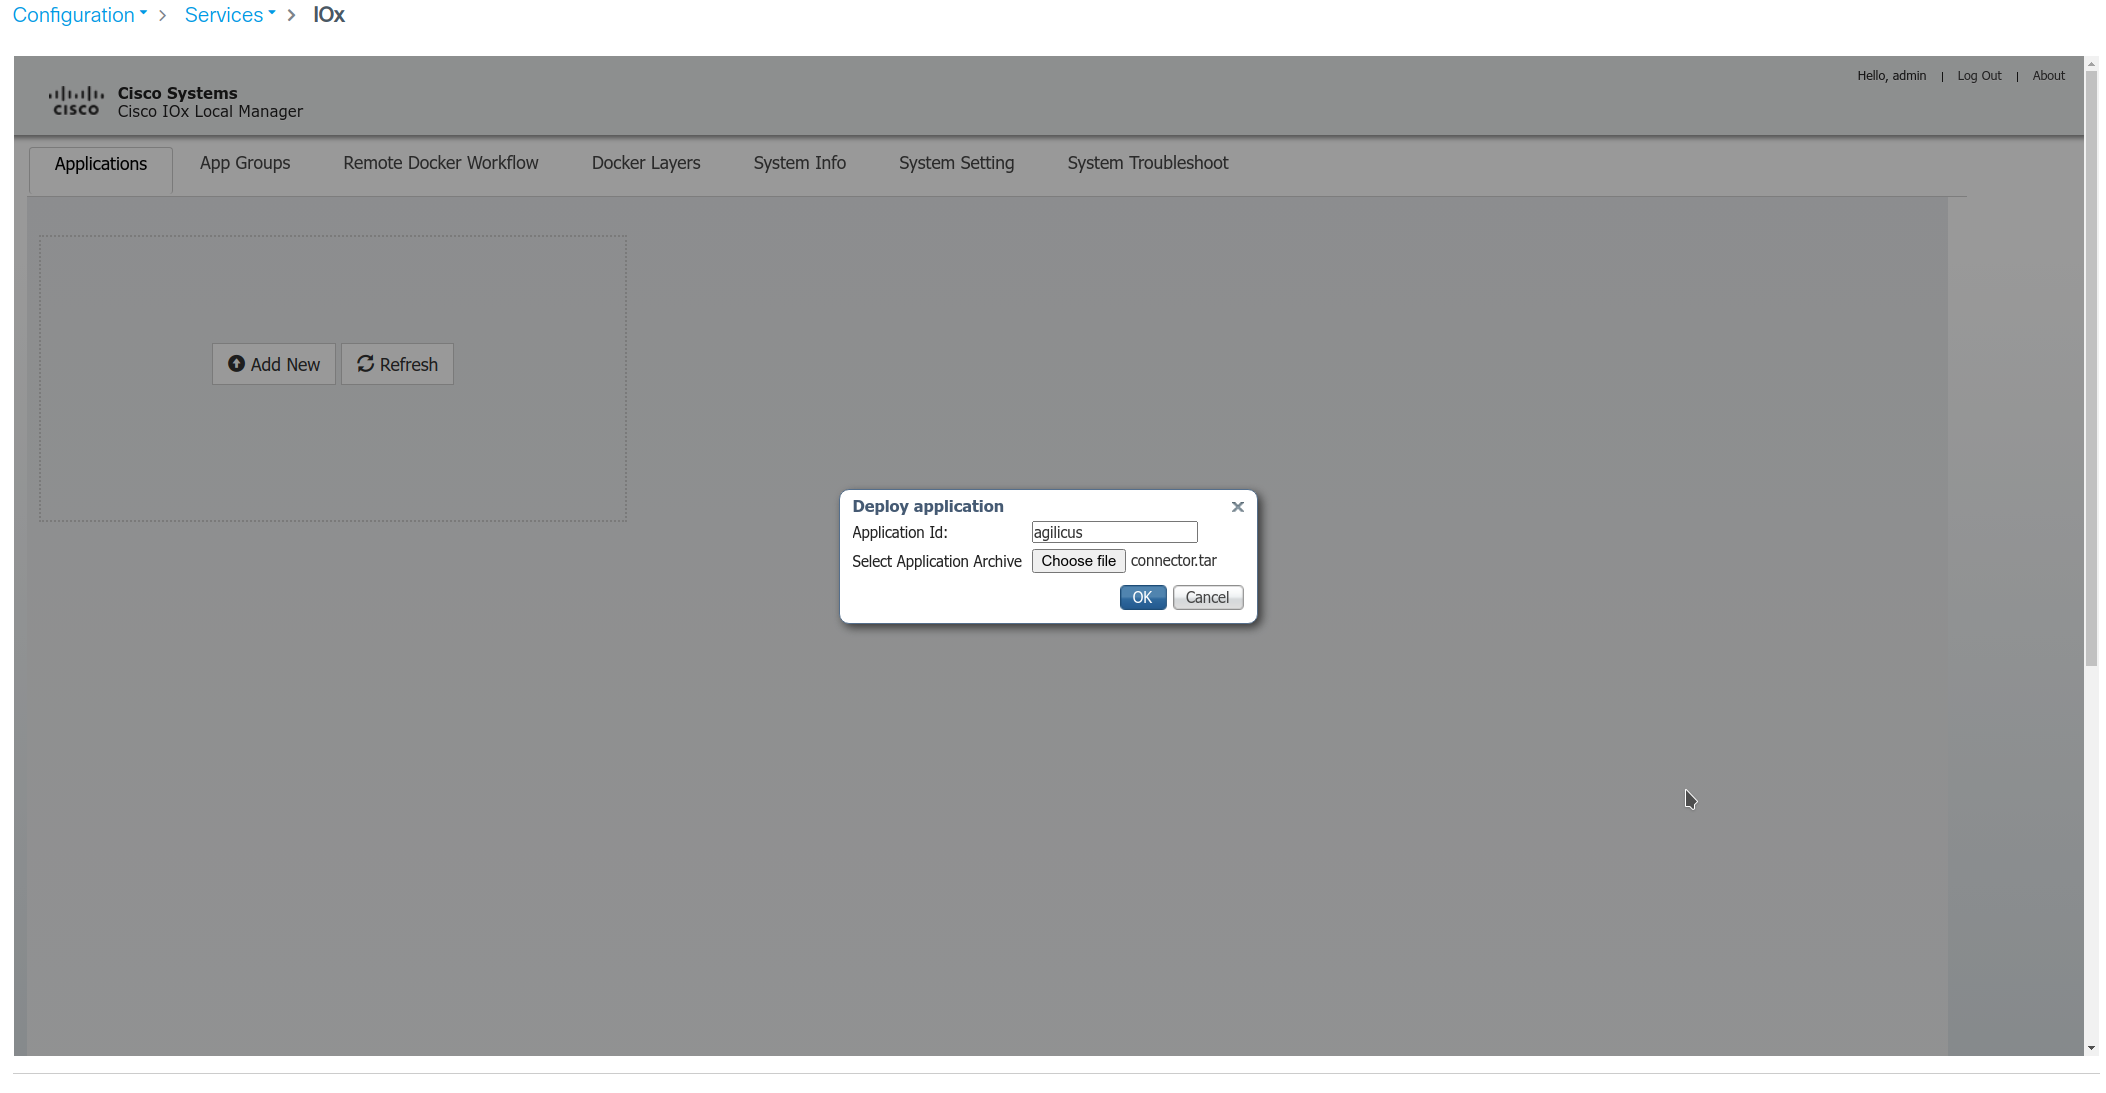
Upload Image
Download to your local computer the appropriate file for your platform (amd64 or arm64). The IR1101 in our example is arm64.
Upload this image to the IOx device.
Name the Application ‘agilicus’.
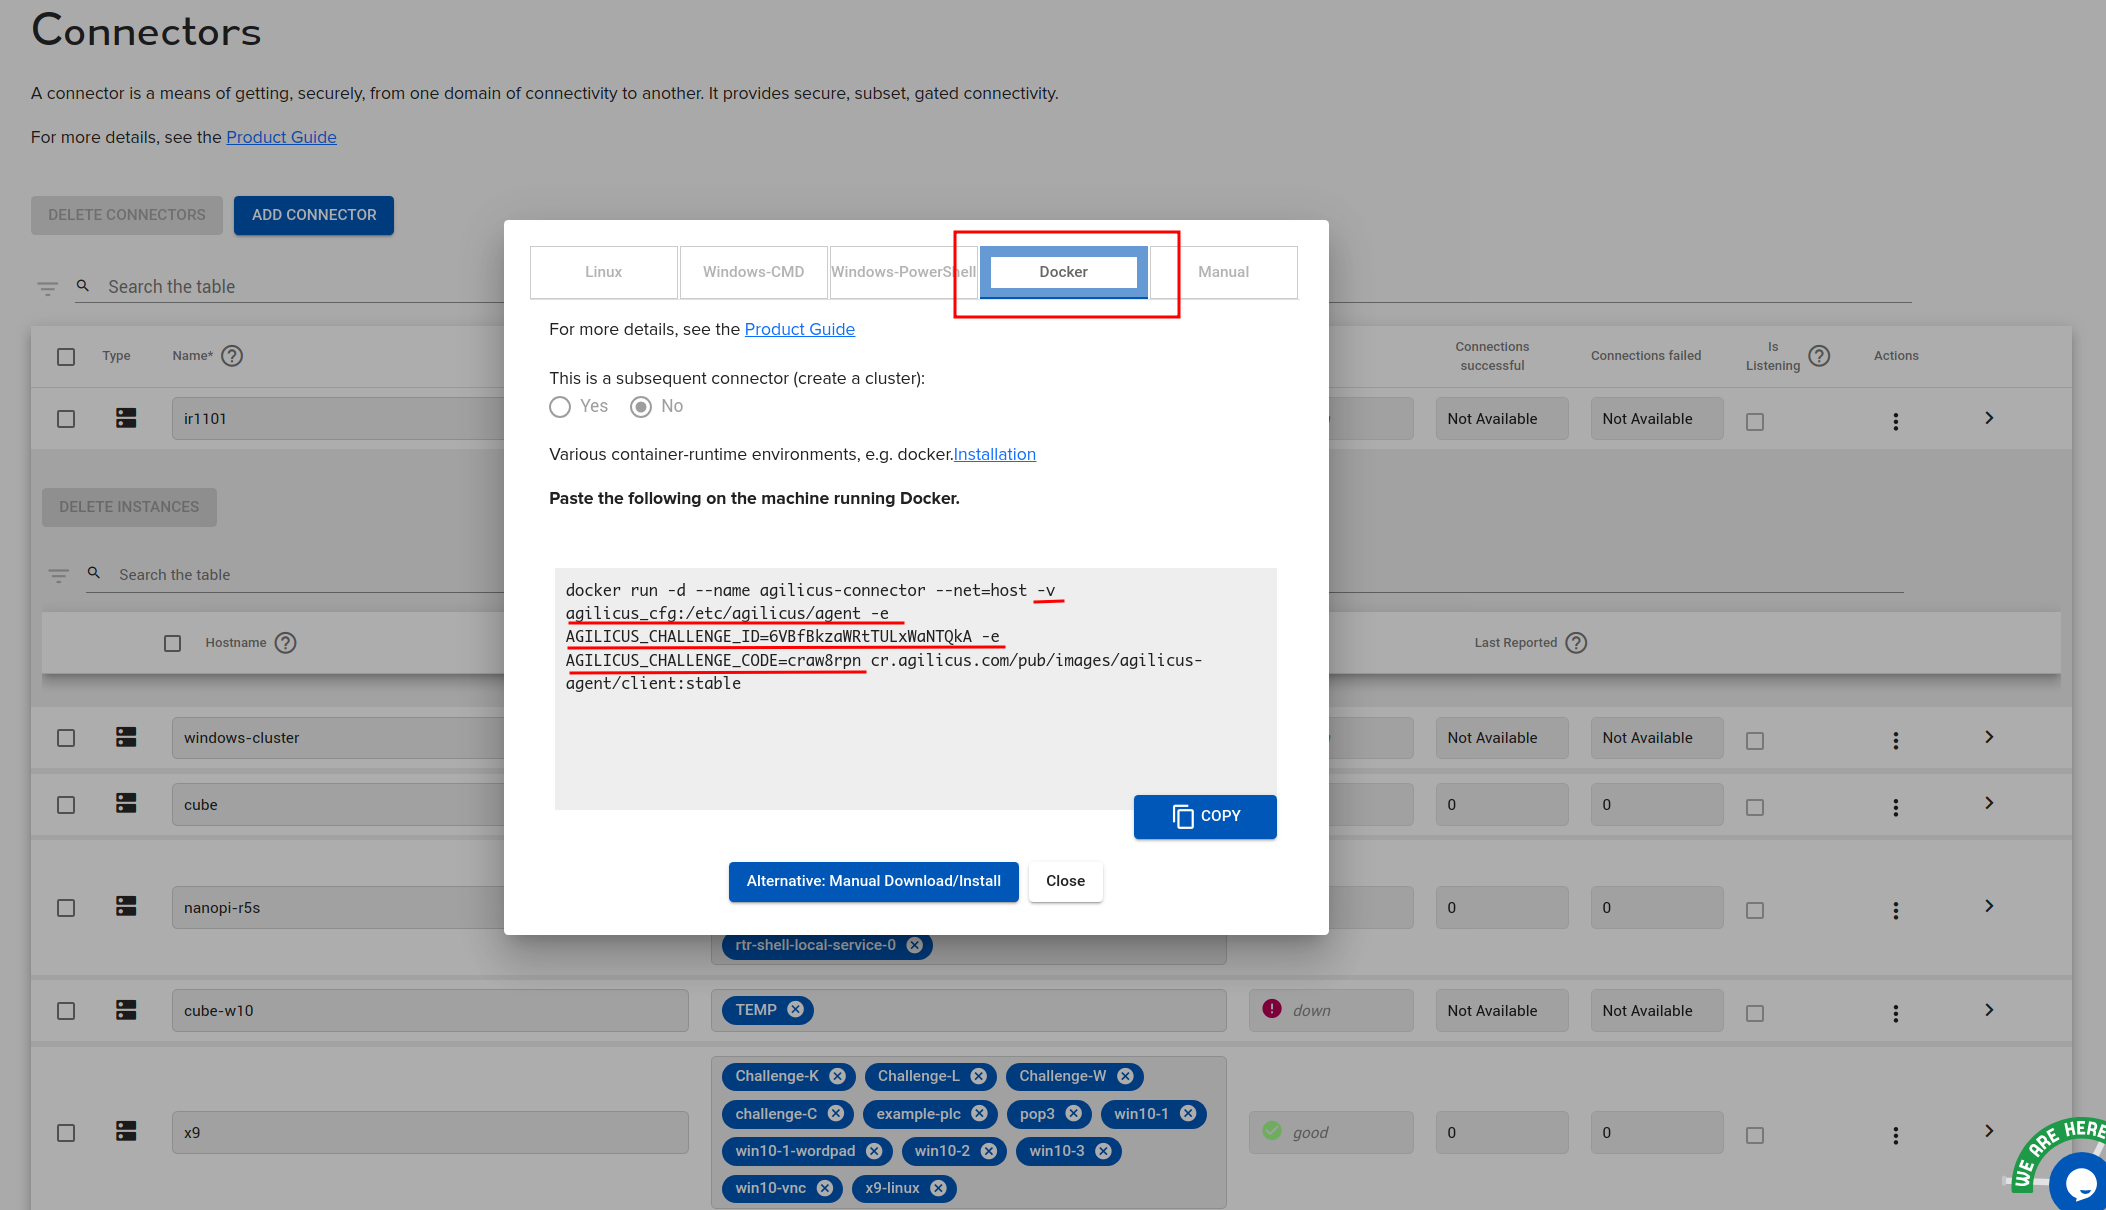
Copy Setup Configuration
In the Agilicus Admin UI, create a connector. Install. use the ‘Docker’ instructions.
Copy the 3 items shown in the image:
-v agilicus:/etc/agilicus/agent
-e AGILICUS_CHALLENGE_ID=…
-e AGILICUS_CHALLENGE_CODE=…
NOTE: the code times out after 10 minutes. If you copy this, and do not start the container within this time, you can generate a new one by closing and re-open the install dialog.

Configure Application
You may optionally configure the resource limits. The Agilicus Connector will typically consume < 256MiB memory, ~150MiB storage, and < 25% of 1 CPU.
Configure the network to match your overall setup (bridge vs NAT).
Uncheck ‘auto delete’, paste the command line from the previous step., Select Activate.
At this stage you have successfully configured the Agilicus Connector on your Cisco IOx device. You may now configure individual services via the Agilicus admin interface.
Sample things to consider would be SSH to the IOx device, the Web Admin of the IOx device, as well as other onwards resources.
In our example router, the SSH management interface is 192.168.2.2. I added a SSH resource, named irr1101-ssh, with that as the IP. I was then able to sign in via Agilicus Profile and see the Router CLI.
