Connector Install: Sign-In
Installing an Agilicus Connector creates a new type of user, a service account.
Connector Install: Sign-In

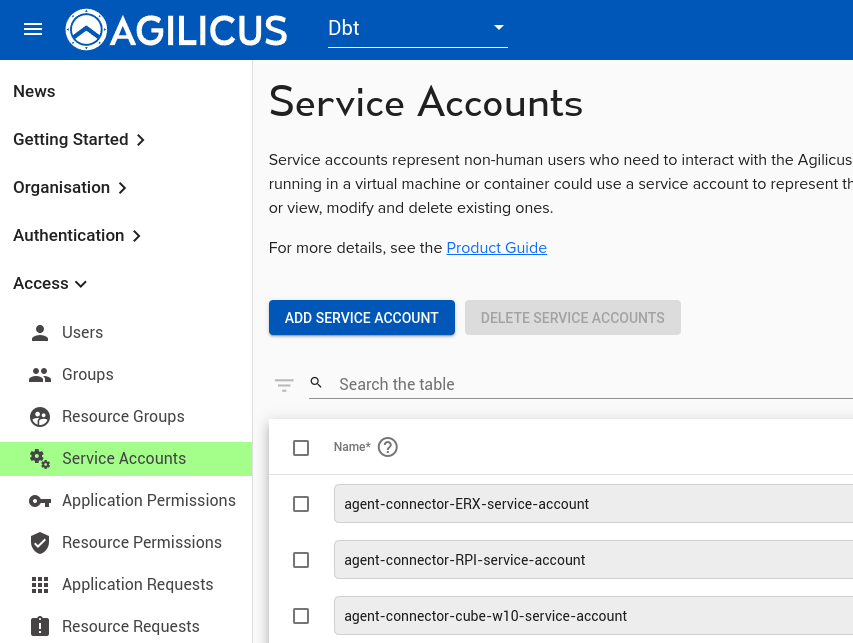
Installing an Agilicus Connector creates a new type of user, a service account. This service account is created automatically for you, using your (the administrators) privilege as a bootstrap. This service account has a restricted set of abilities. You may see (and delete after deleting a connector) in the admin front end under ‘Access/Service Accounts’.
Once this service account is created, the Connector will use this identity without further user intervention.
In order to create the service account, and get its credentials, the install process needs you to authorise it. To do this, 2 methods exist (both yield identical results):
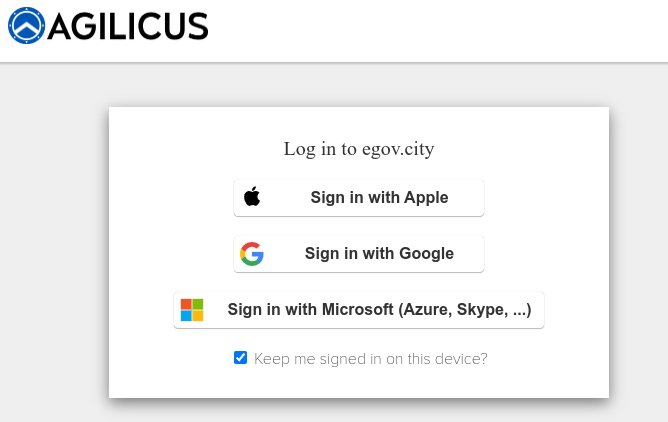
- Open a new browser, request you to sign in. This in turn uses a ‘callback’ URI that points to the host you are trying to install the connector on. Your browser, upon finishing the sign-in flow, will do a redirect to http://localhost:<someport>, passing the access token forward.
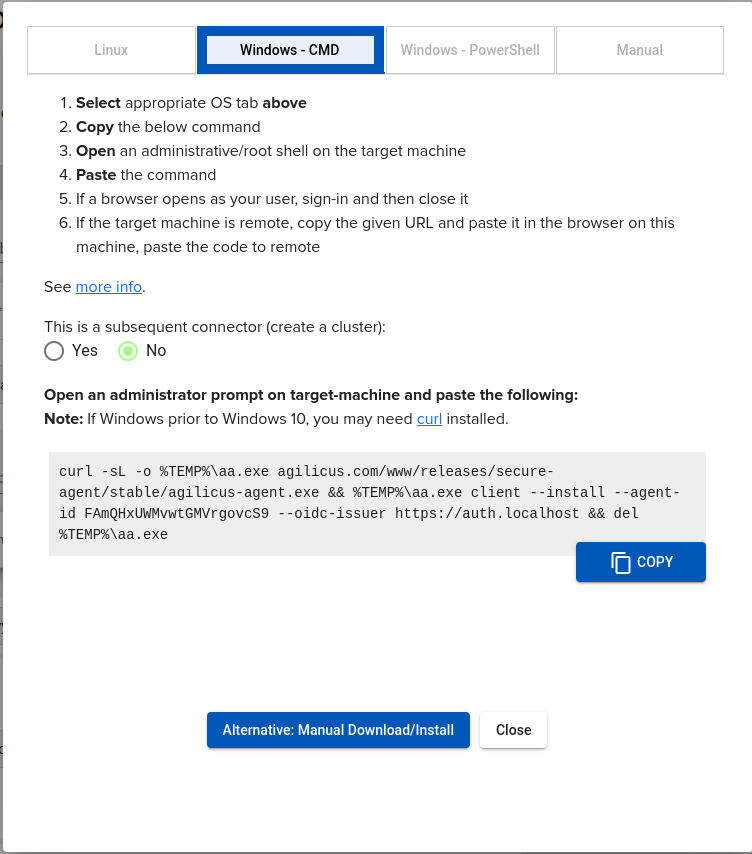
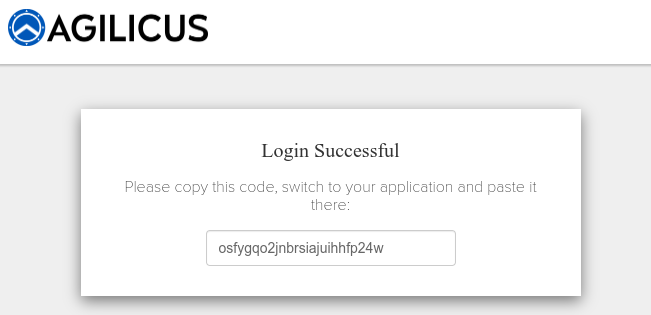
- Copy a URL you are given, paste it into your browser, this will give you a code, paste that back into the location you started the install from.

Typically if you are using a graphical desktop operating system, and signed into it as yourself, you would use method #1. If you are remotely accessing a system, or it is a headless embedded device, you would use method #2.

In some cases both methods are available, in which case the first one to answer will be used.
Note: The Connector installation process should be run with Administrative (e.g. Root, LocalAdmin privilege). If you do not, it will attempt to elevate for you (as you can see in the below example).

A console log of the initial install process is shown below. In this example, you would have seen your browser open automatically with a sign-in screen as above right. If you sign in this way, the installation will complete.
Instead, you may copy the URL given (https://auth.__MYDOMAIN__/auth?client_id=agilicus-builtin-agent-connector…) into the browser on your desktop. You will then see a screen as shown. Copy the token (osfygqo2j…) and paste it in where it says “Enter verification code:“, and the installation will complete.
Whichever method you use, you will achieve the same result, and the Agilicus Connector will need no further intervention.
INFO[2022-05-29T11:45:38-04:00] Starting client - version v0.119.0-5
INFO[2022-05-29T11:45:38-04:00] User is not admin, attempting to elevate. If this fails, re-run as admin/root with same arguments.
re-run [/usr/bin/sudo /bin/sh -c "/home/don/src-ag/platform/secure-exposed-agent/bin/agilicus-agent" "client" "--install" "--agent-id" "GLrmn8mKJ6W45c8Bo3ABCK" "--oidc-issuer" "https://auth.dbt.agilicus.cloud"]
INFO[2022-05-29T11:45:38-04:00] Starting client - version v0.119.0-5

 You have **2** methods to provide your authentication. Use the most convenient.
 1. You may see a browser open. If you sign in to it, this flow will complete
    automatically, and ignore the url below/paste.
 2. You will see a URL appear here. Cut and paste that into a browser you are
    signed-into. It will then give you a code to paste here.

 Typically #1 is used if you are signed into this machine directly, and #2 for
 ssh or remote desktop or embedded devices.

If a browser did not open automatically, please open this link in
your desktop browser to retrieve the authentication code, and paste below:

 https://auth.__MYDOMAIN__/auth?client_id=agilicus-builtin-agent-connector&...

Enter verification code: