
Print Via Service Forwarder
Print from a local machine or network to a remote printer, using two connectors via the Service Forwarder.
Print Via Service Forwarder
(For end-user printing from a single application, see also Print Via Launcher).
In this method, we install a connector on the remote end (the PC of the person wishing to print). We use the Service Forwarder (https://www.agilicus.com/anyx-guide/forwarding/) to ‘port-forward’ localhost (her PC) to the remote (printer:631). Thus the user can connect to their local machine as a printer. NOTE: if port 631 is in use locally we can use an alternate (e.g. forward localhost:6331 to printer:631).
The data flow would be as below, diagram not to scale.
The user will see the printer seamlessly.
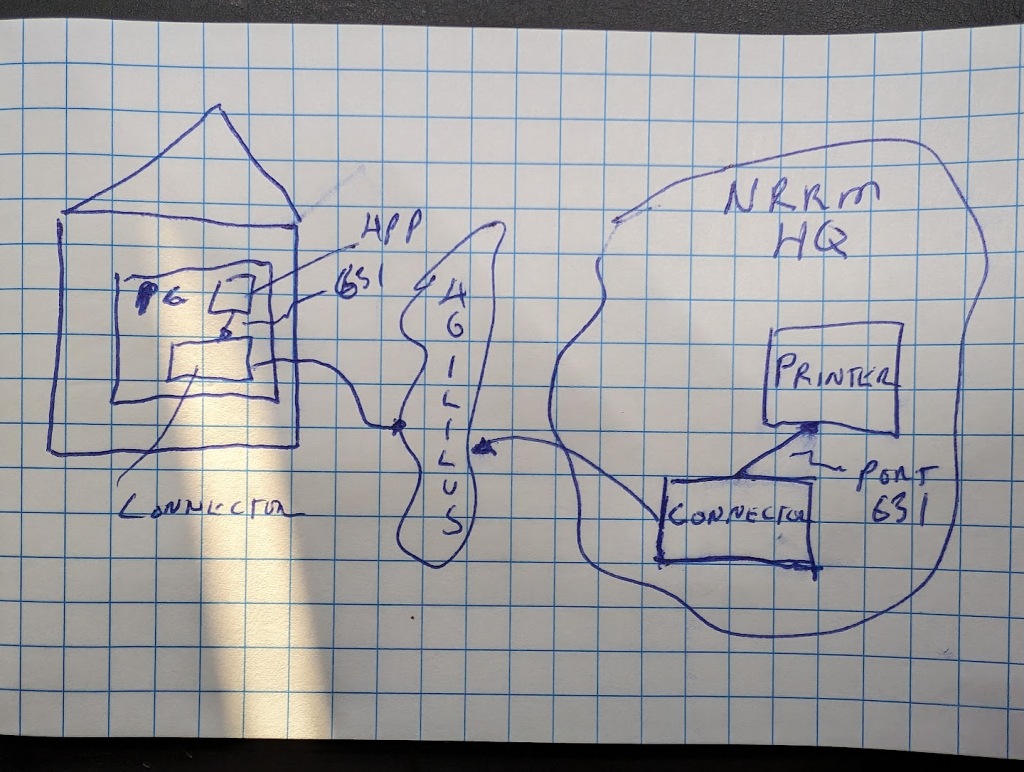
You have a set of connectors on your site, I suspect one of them has layer-3 connectivity to the printer in question.
Steps:
- Create new connector (e.g. name user-pc-connector)
- Install connector on remote PC
- Create Network Resource
- Create service forwarder specifying destination IP, port 631 of the printer via the remote connector
- Add printer to machine specifying localhost
In the sample pictures below, ‘Win10’ is the name of the remote user PC, and dbt is the name of the connector existing in the network with the printer.
Step 1: Create a new connector
On your desktop, open https://admin.YOURDOMAIN. Create a new connector, give it a name.
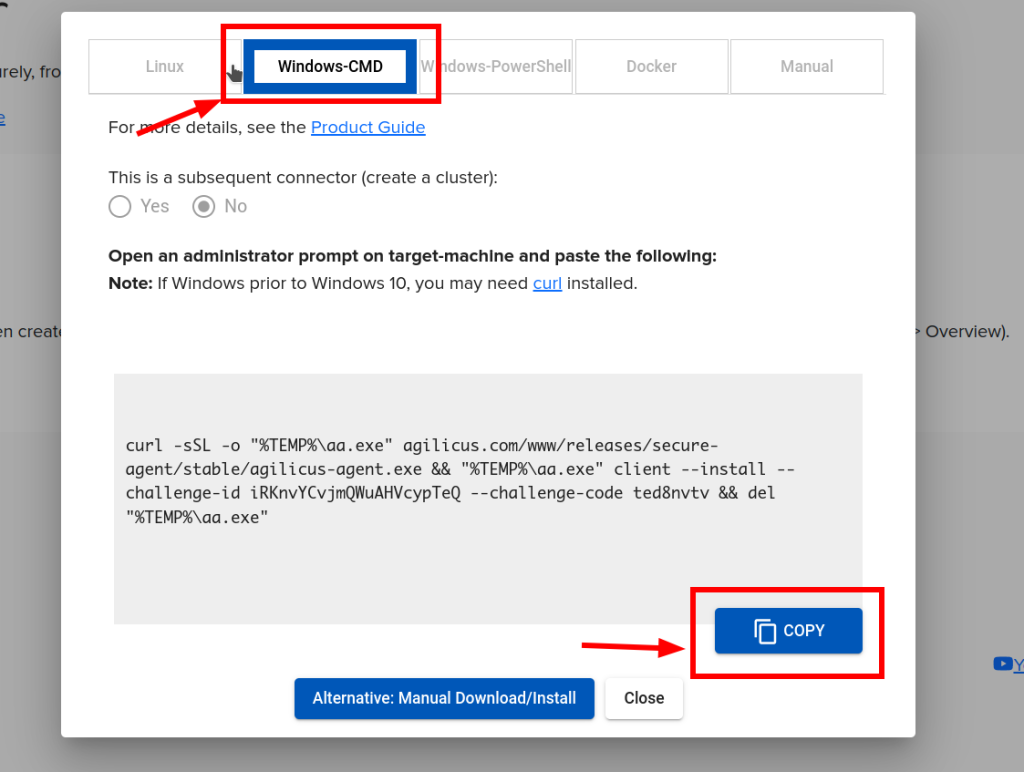
This will place a text string on your clipboard.
Step 2: Install on Remote PC
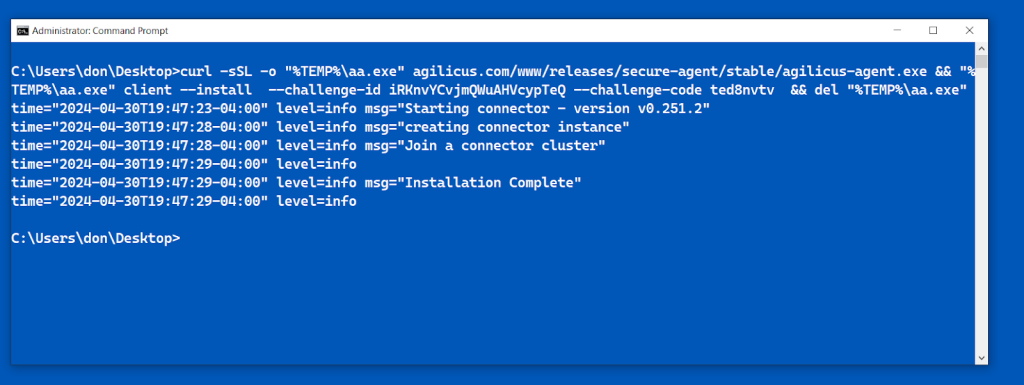
We will now paste this string from above into an Administrative cmd on the remote machine (e.g. via remote assist). The output should look similar to below.
Step 3: Create Network Resource
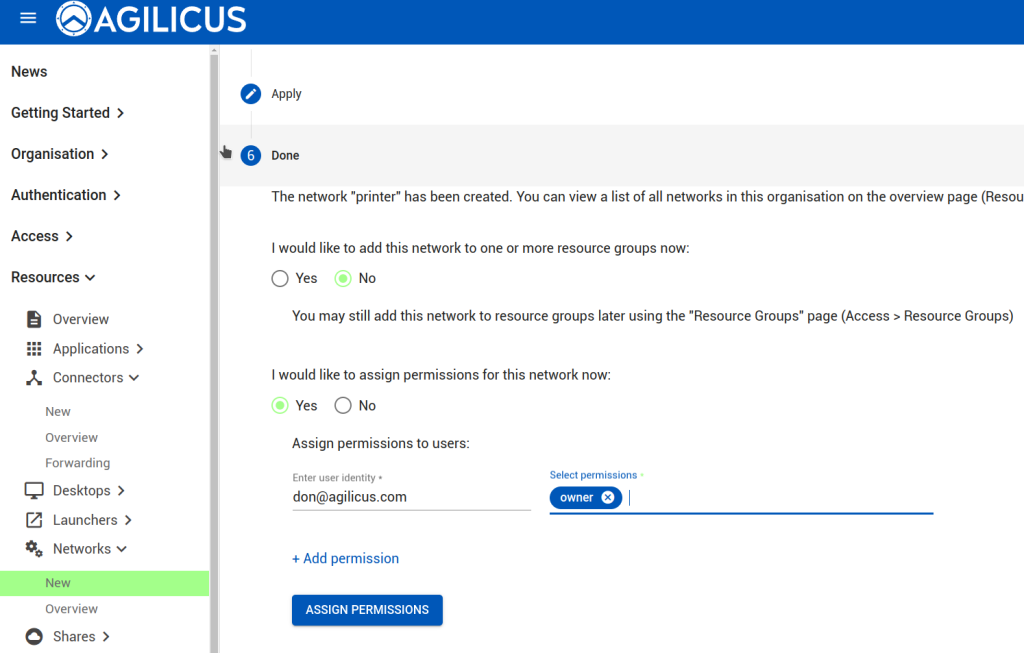
First step, we will create a ‘network’. This is sort of like a destination, its a resource no different than a share or a web app.
Give the user, or a group, permission.
Step 4: Create Service Forwarder
Next, we will create a service forwarder. This will make a ‘listener’ on ‘win10’ connected to the remote network on dbt (printer end).

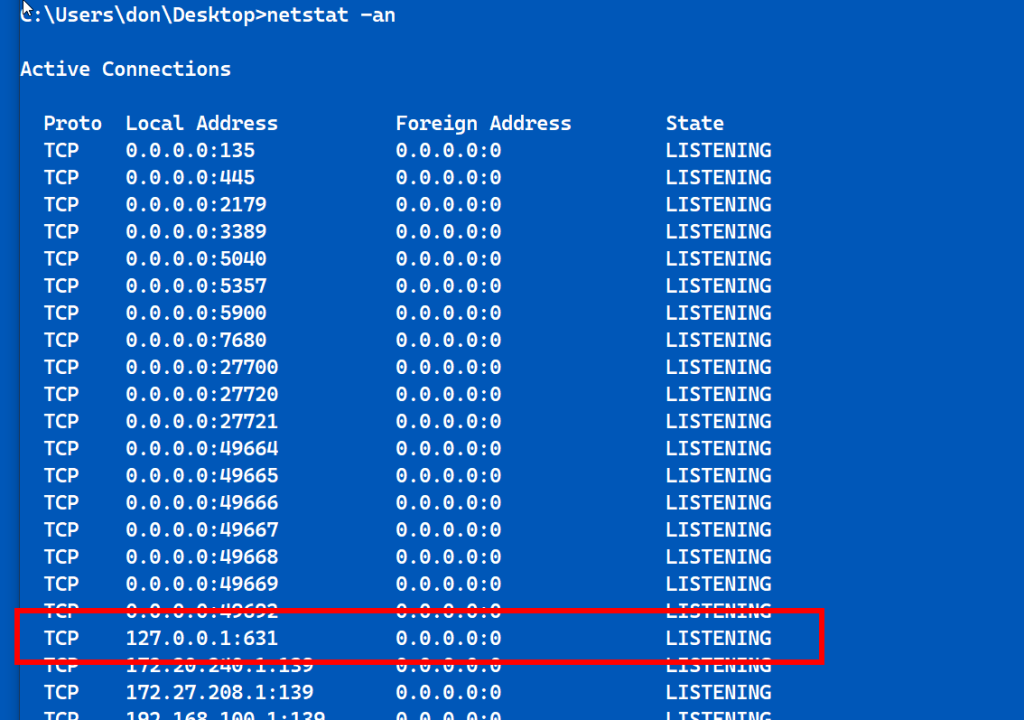
At this stage, on the remote PC (win10 in my example), port 631 of the localhost is the same as the remote printer. If the PC is already using port 631, use an alternate port.
Let us check (feel free to do this prior to the config to ensure the port is not in use).
Step 5: Add Printer
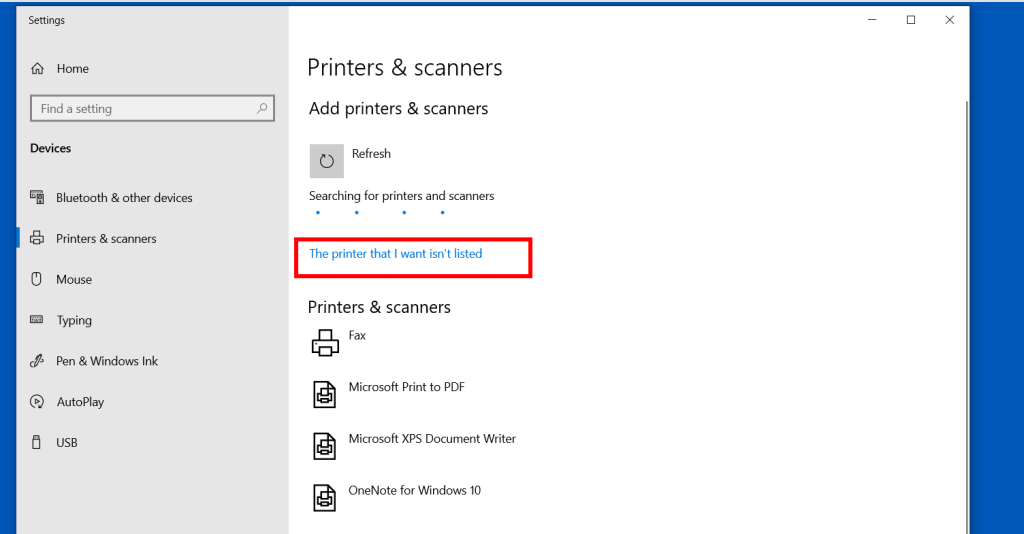
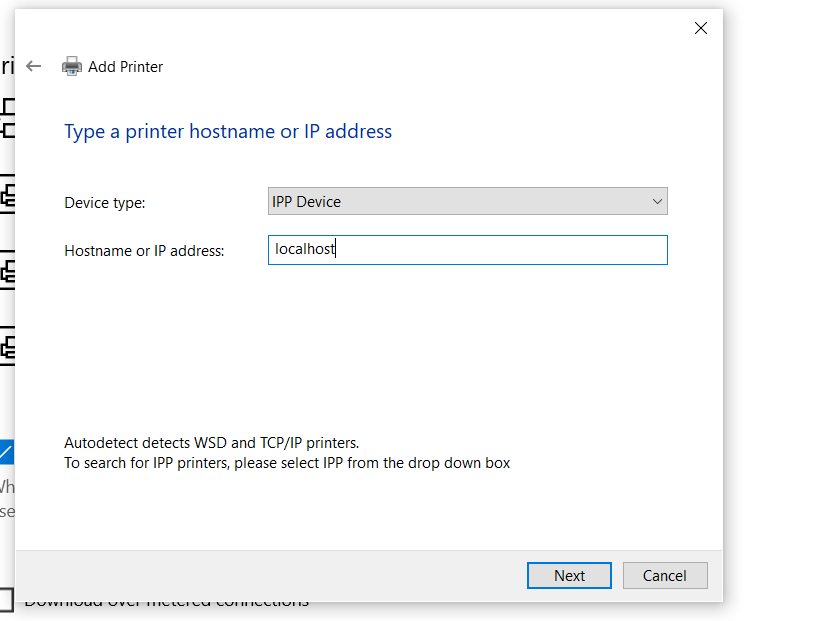
At this time the printer is up, we can use it normally. It will always be accessible by this user.