Overview
In this example, we will show setting up an “Icecast” audio streaming system, and force users to be authenticated via OpenID Connect. We will also show Authorisation: a set of “viewers” who can stream the music, and an Administrator.
For this example we will use an onsite connector as a means of reaching the Icecast server. Go through the steps to install this now (or use one already installed).
First, let us open the “New Application” menu. We will do this manually (without a template) to demonstrate.
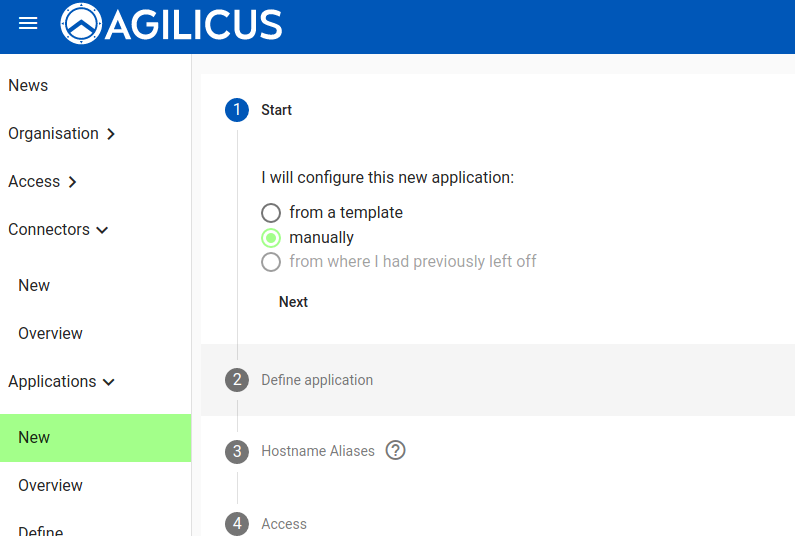
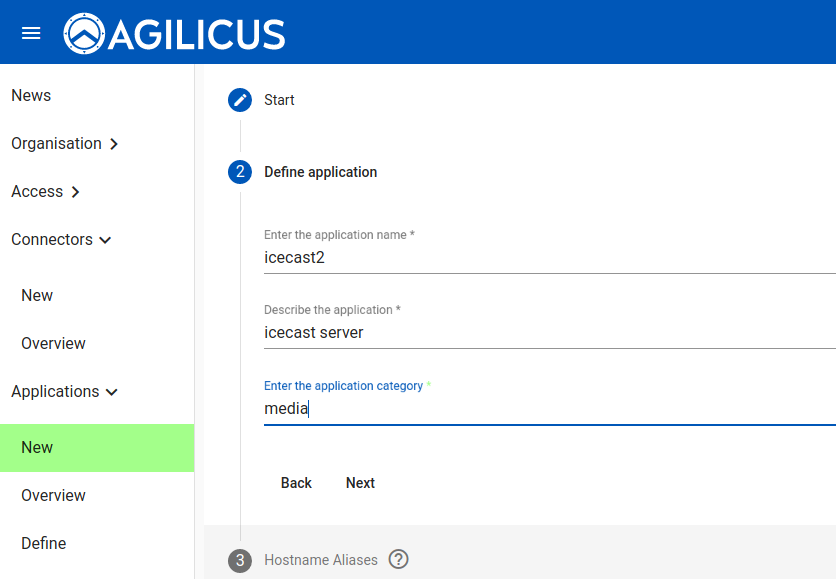
Give the application a name. This must be a valid hostname (it will be part of the URL a user will use, e.g. https://<NAME>.<DOMAIN>. You may describe the application and give it a category, these are just used for reporting purposes.
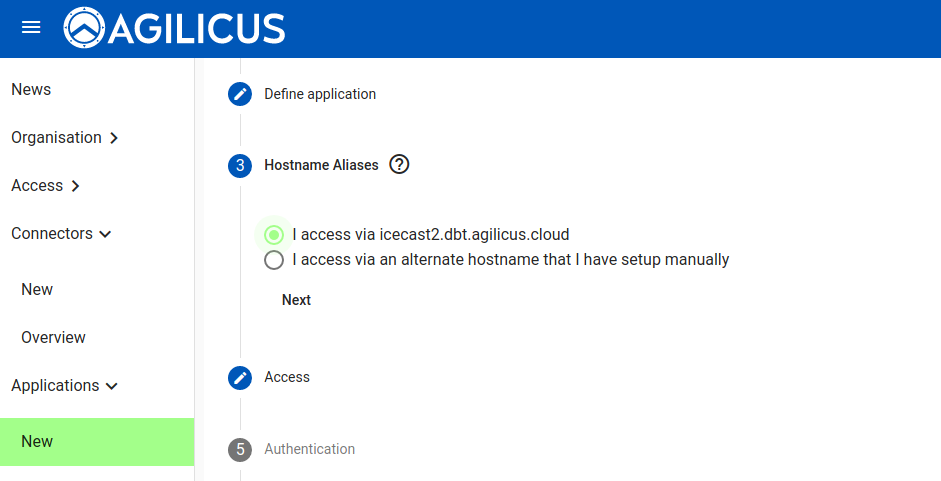
You have a choice: you can supply your own domain name (in which case you must put a CNAME in your DNS pointing to our domain ca-1.agilicus.ca), or you may use a name from the CNAME you set up when you created the organisation initially.
Now we indicate how the upstream Icecast application is accessed. We will do this via the onsite connector.
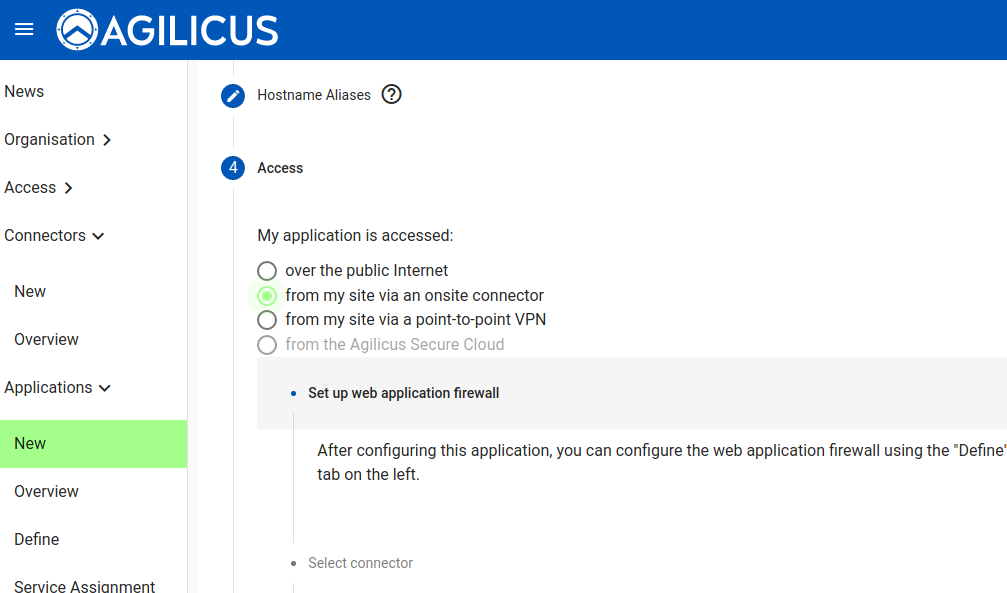
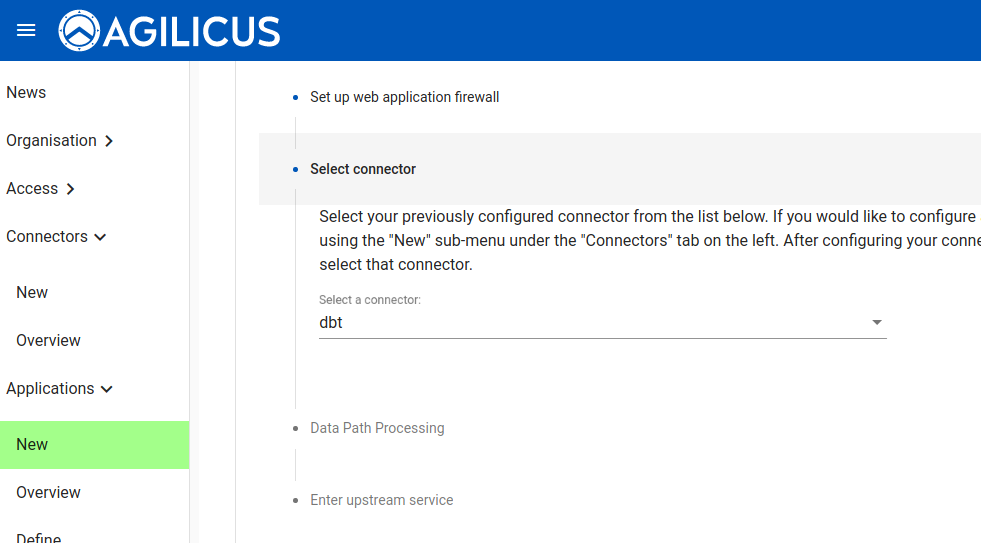
Select the specific connector (which we previously created and installed).
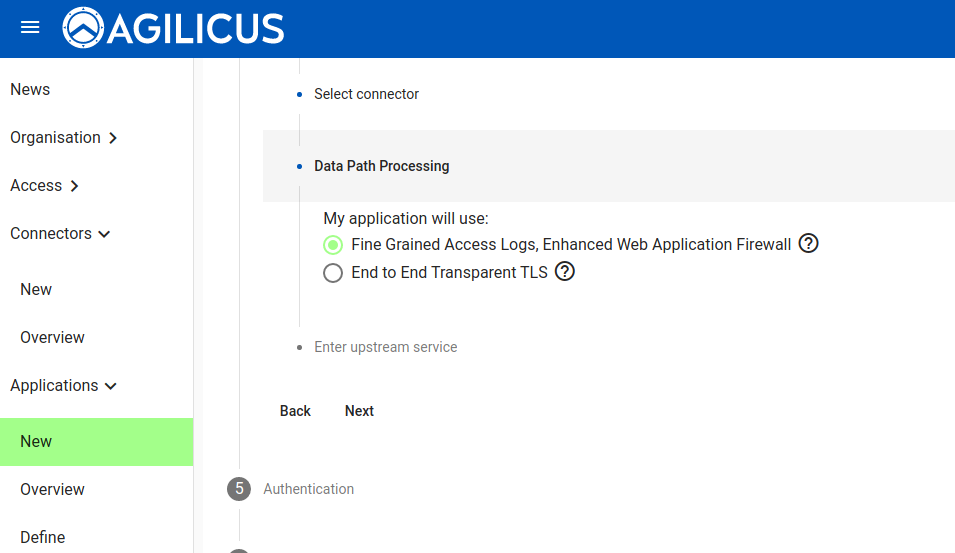
You now have 2 choices. You may have a full web application firewall with fine-grained (e.g. per transaction) audit logs, or you may have a perfect TLS session end to end transparent (in which case the private key will be solely on your site: we will have no access). For this demonstration, we will use the Enhanced Web Application Firewall.
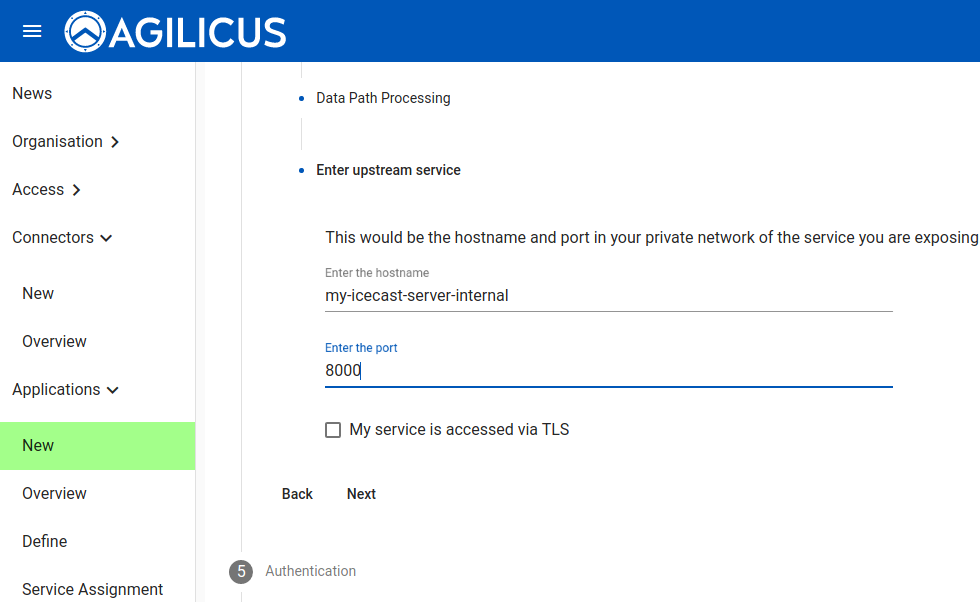
We now enter the coordinates (in the private network, e.g. as would be reachable by that onsite connector) for the Icecast server.
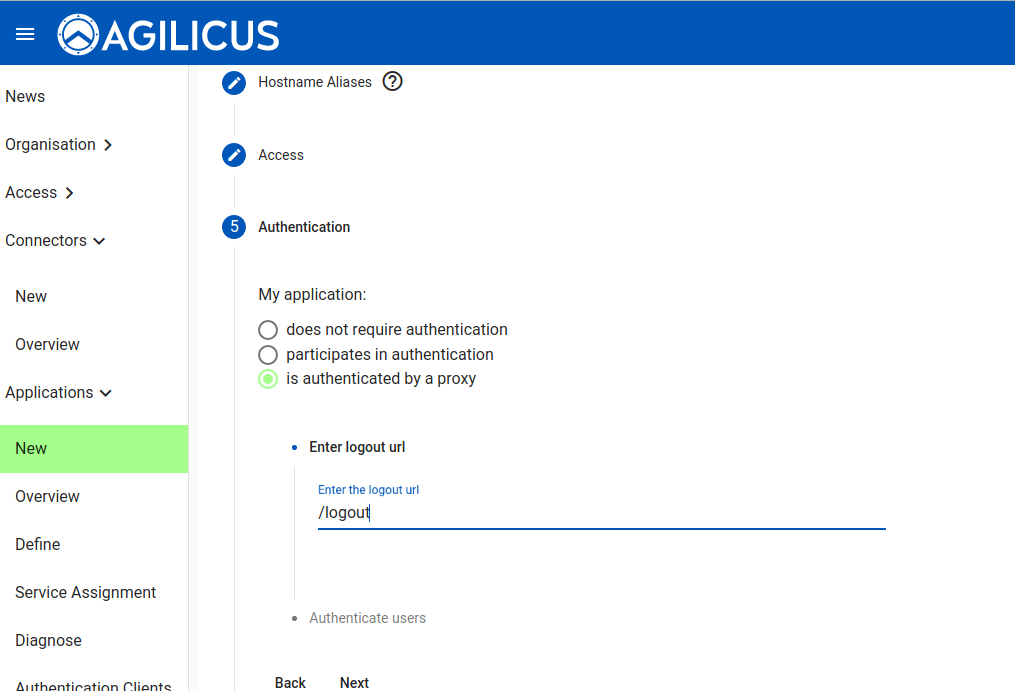
We wish to have the OpenID Connect Proxy handle authentication and authorisation. We can also enter a URL that, when fetched, will force a logout.
We are later going to have 2 types of users (viewers, admins). You might choose an “auto-create” user type for the viewer, allowing anonymous but attributable access.
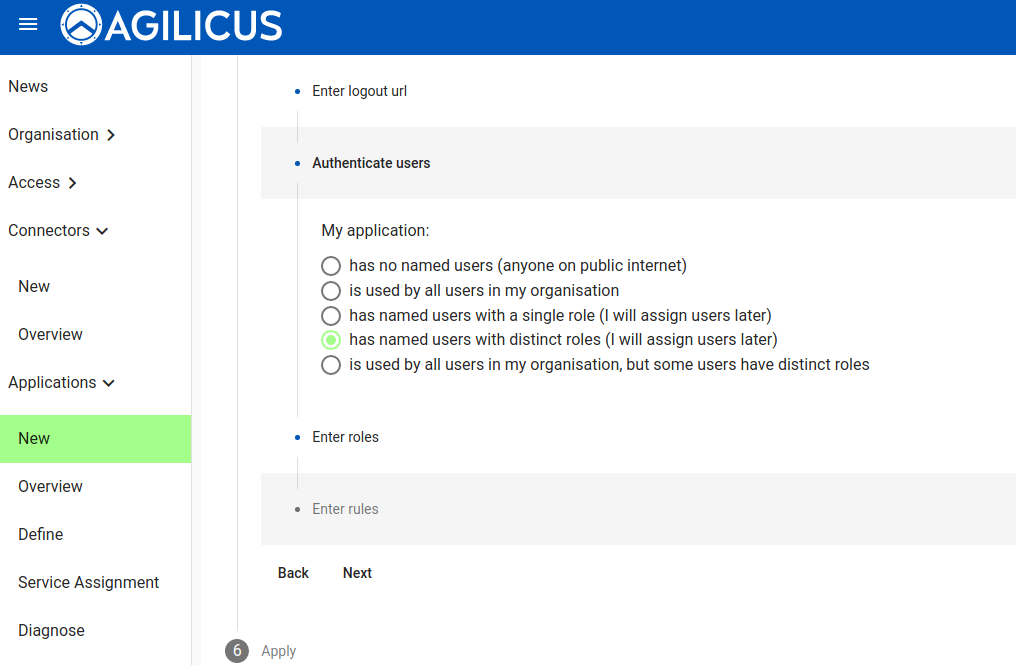
At this stage we are done creating the application, we will now set up the identity aware web application firewall authorisation.
Create Authorisation Roles, Firewall Rules
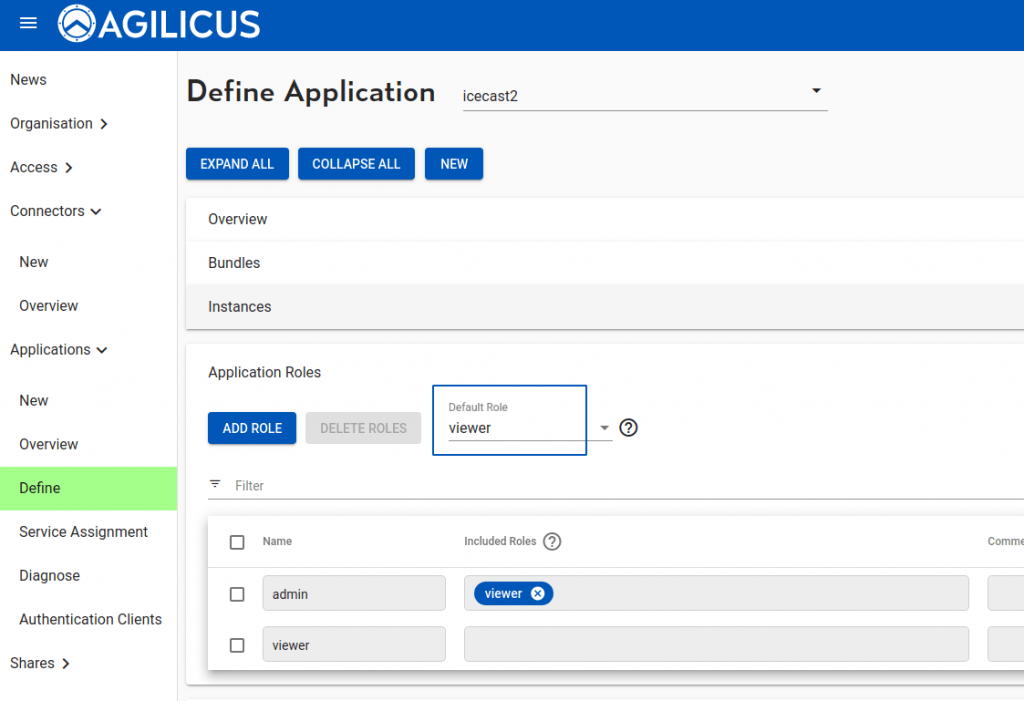
On the “Define” screen we can fine tune. First add a “viewer” role, then an “admin” role which includes viewer. Make the default role “viewer”.
Now let us set up the firewall. We will allow ‘viewer’ to GET anything except /admin. We will allow administrators to do any (GET/PUT/POST/…) on /admin/ tree.
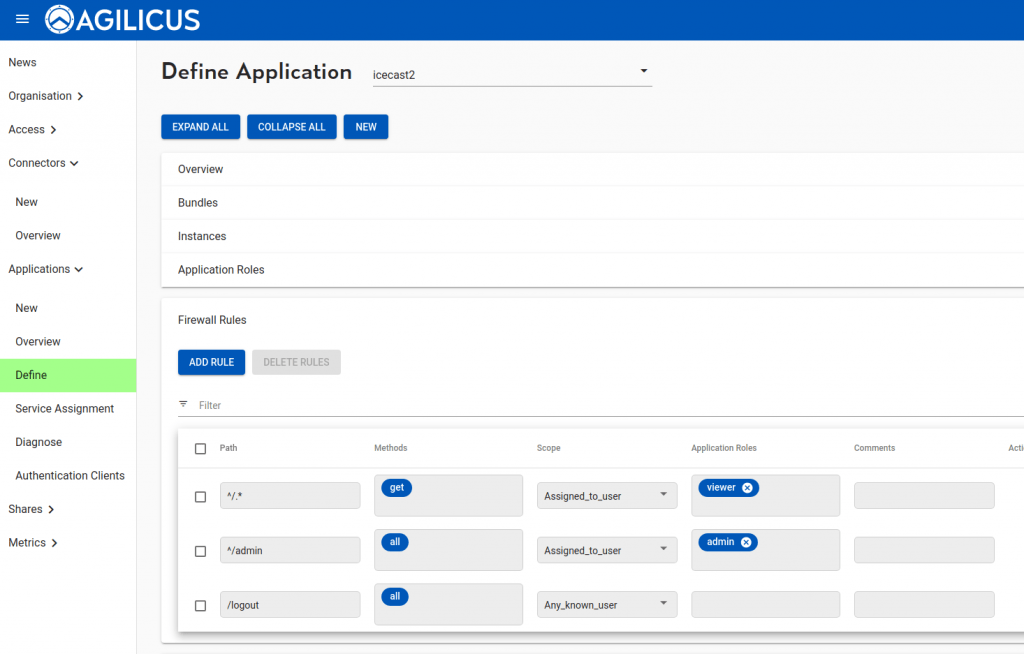
At this stage we can open up our Icecast server (https://APPLICATION.DOMAIN), we will be challenged to provide credentials, after that, single sign-on, we are streaming our sweet music.