Overview
LibreNMS is “a fully featured network monitoring system“. In order to make it externally accessible, we will treat it as a Web Application.
Application Setup
The LibreNMS application is setup using defaults with 1 exception: we must HTTP Rewrite the Media Type text/html.
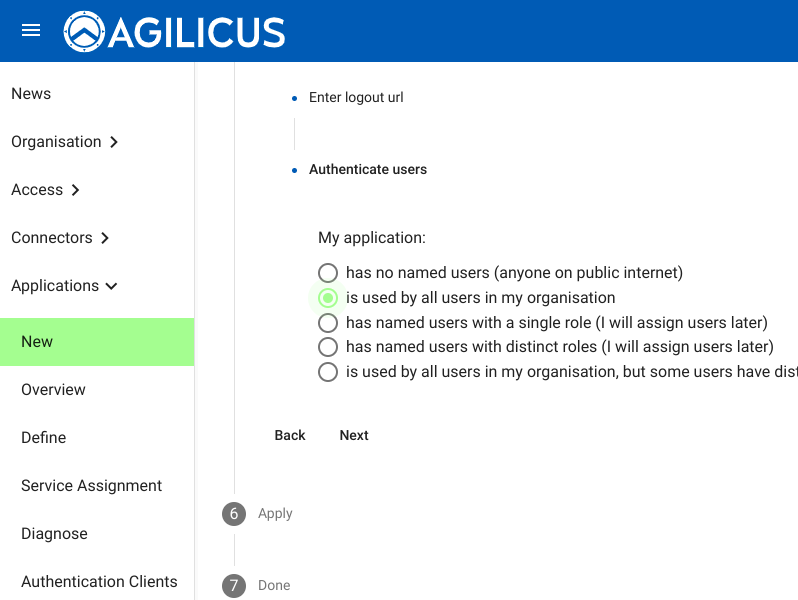
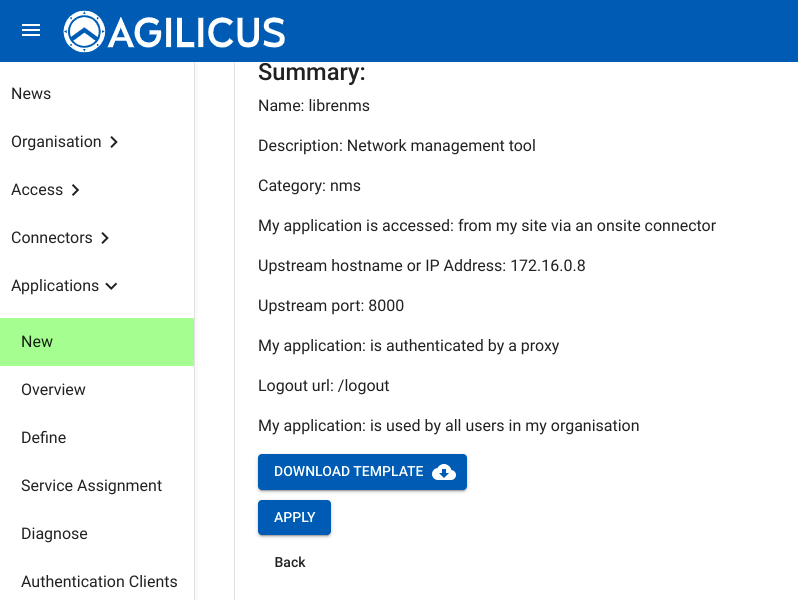
In this sample, we show setting it up so that all users in the organisation have equivalent access.
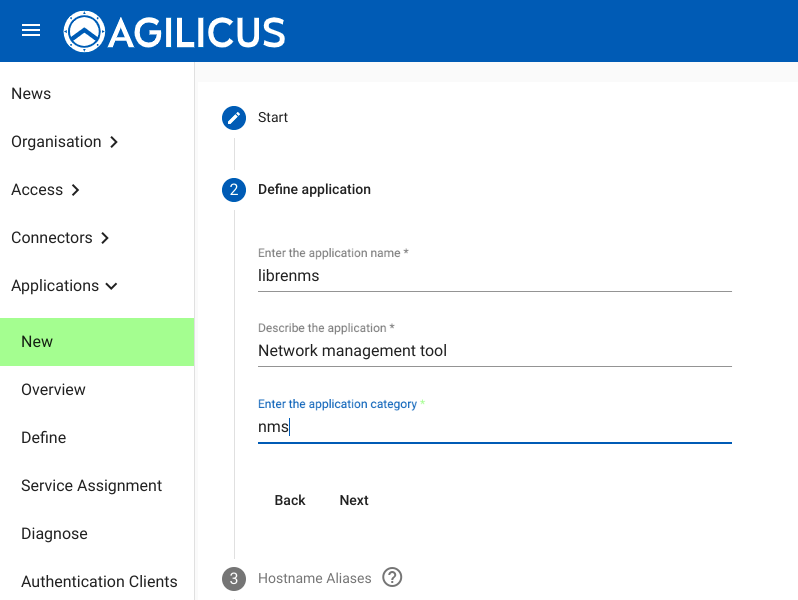
First, create a new web application. Select a ‘name’ (which will become part of the URL, e.g. https://NAME.DOMAIN), a description and a category. The latter two are for information purposes only.
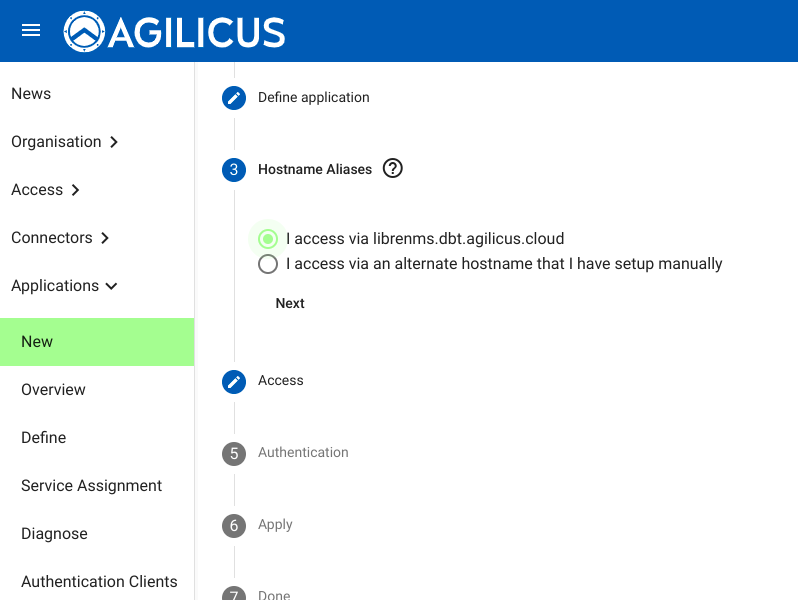
Now we can select a hostname. By default it will be NAME.DOMAIN, but, if you have an alternate hostname setup as a CNAME, you may use it here.
You may use an onsite connector you have previously setup, or a VPN you have previously setup.
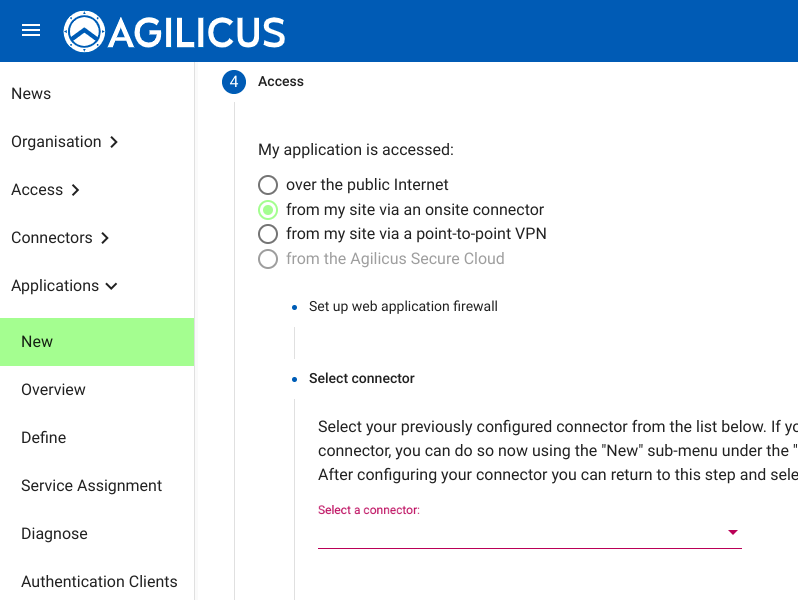
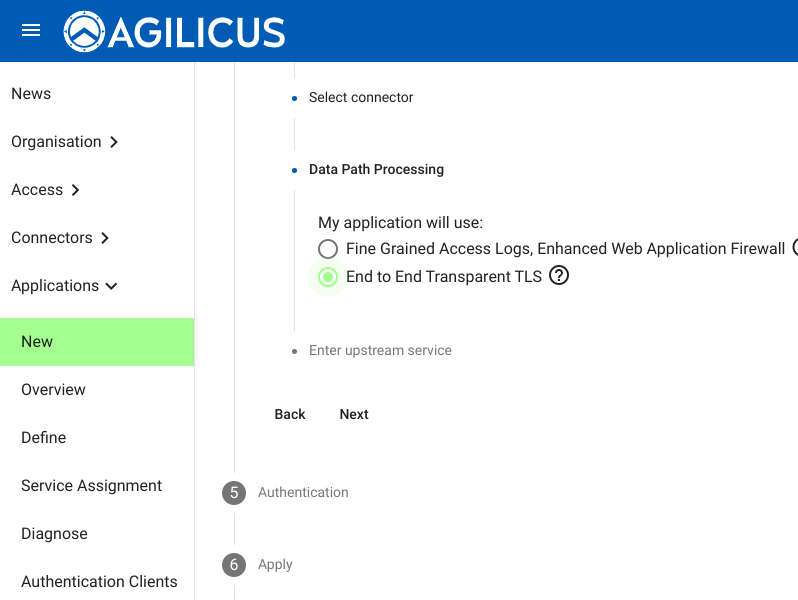
This choice controls the fidelity of the access & audit logs, as well as the depth of the WAF. The first choice gives full audit records on each access transation, and protects against SQL injection, CSRF and XSS attacks. The second option keeps the custodial control of the TLS private key entirely within your site and private. Both will work for this example.
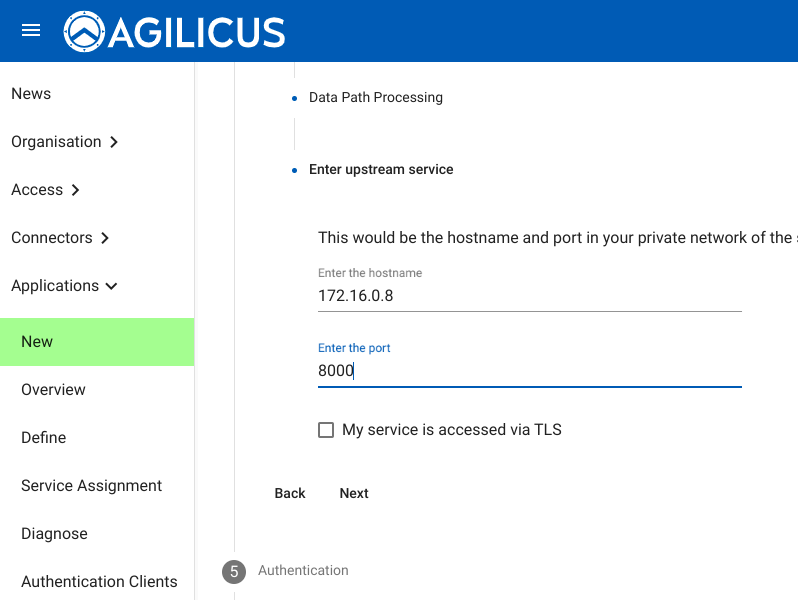
Now we select the coordinates of the LibreNMS server *as it is on your current site*. This might be a hostname or IP, it is how you currently use LibreNMS.
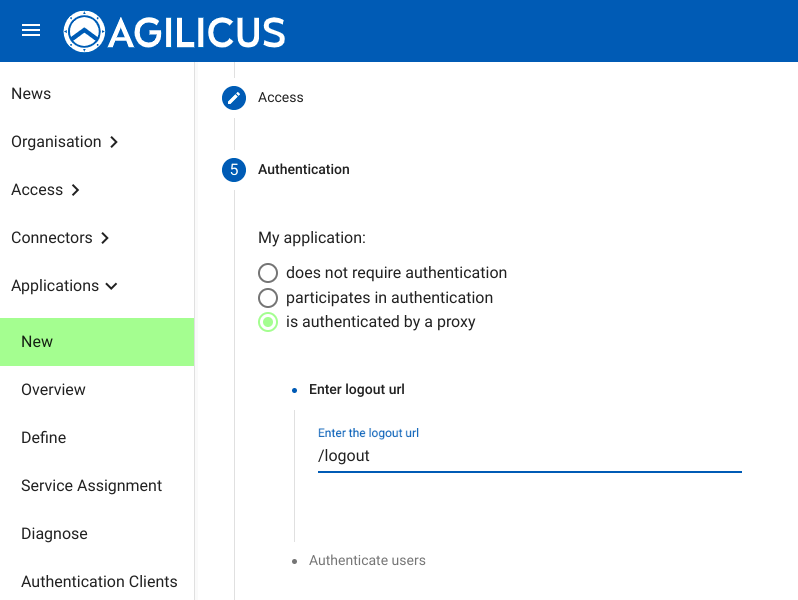
We now select authenticate by the reverse proxy.
Here we can control the initial default access. You can change this later in the ‘Access’ tab.
We are now complete on the initial setup, and then have 1 more non-default step to perform, to do the Media rewrite.
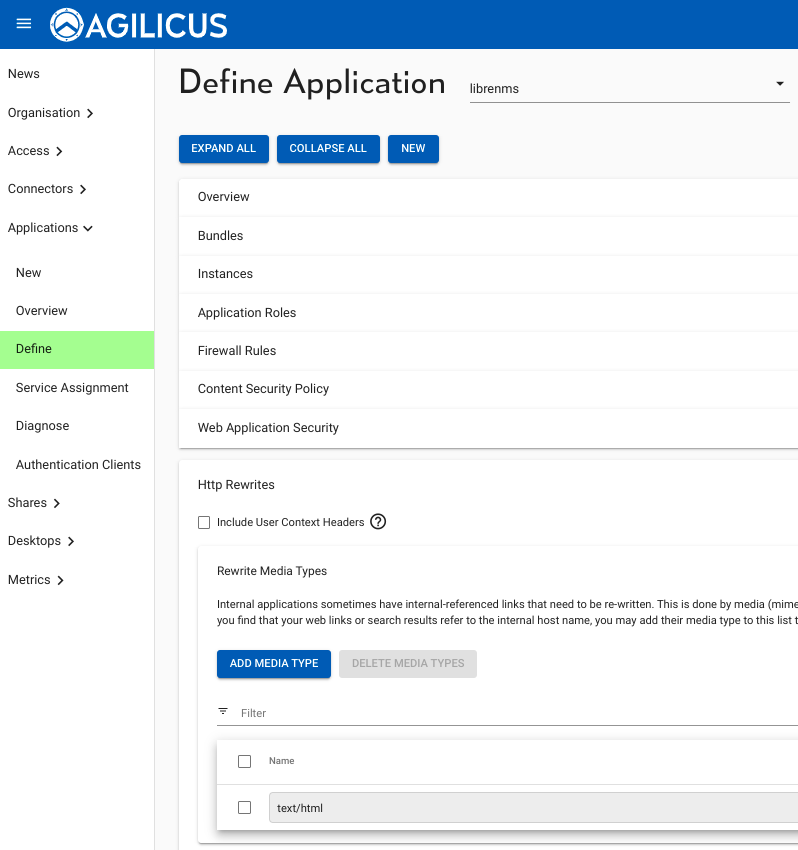
Now that this is done, we have one last step. The LibreNMS web application writes the local IP:PORT into the HTML and we must rewrite it. To do so, on the ‘define’ screen, select ‘librenms’ from the top, and, under the HTTP Rewrites section, add ‘text/html’ to the media to be re-written. At this stage, we should be able to login and use normally.
In addition, you should set ‘application/json’ to the rewrite, in order to be corrected on return to API-driven components.
You may consider setting the ‘Include user context headers’ which will cause the authenticated user information to be available as a trusted header.
