Quick Start: Details
Step 1: Link Your Account
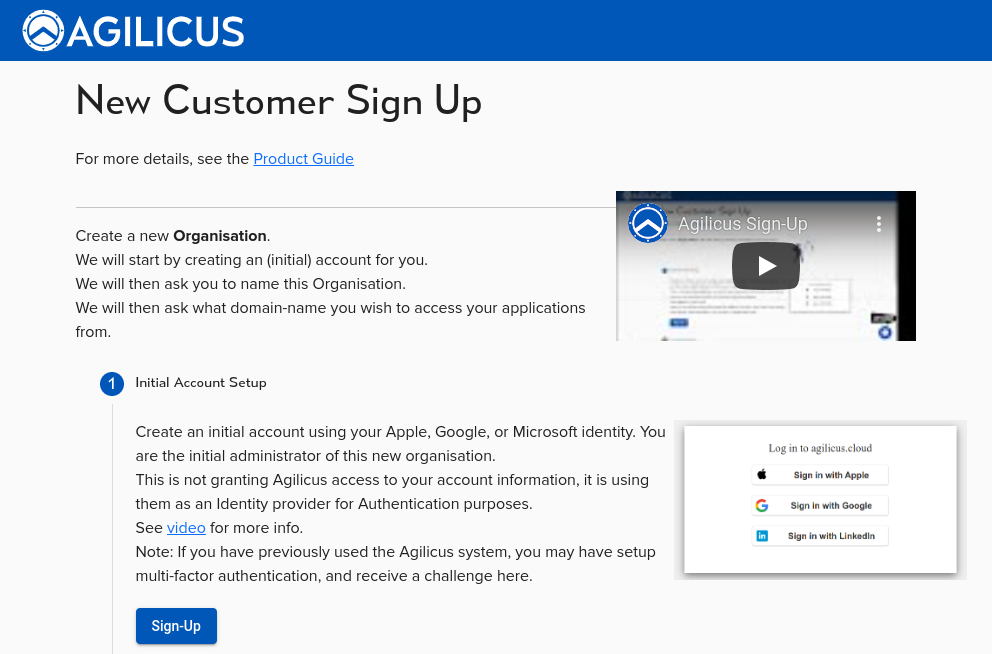
To begin, click on the Sign-Up button.
We don’t use passwords. Instead, you’ll link to your Google or Microsoft account. Select either ‘Microsoft’ or ‘Google’. You will then see a familiar sign-in screen.
Step 1A: Select Identity Provider
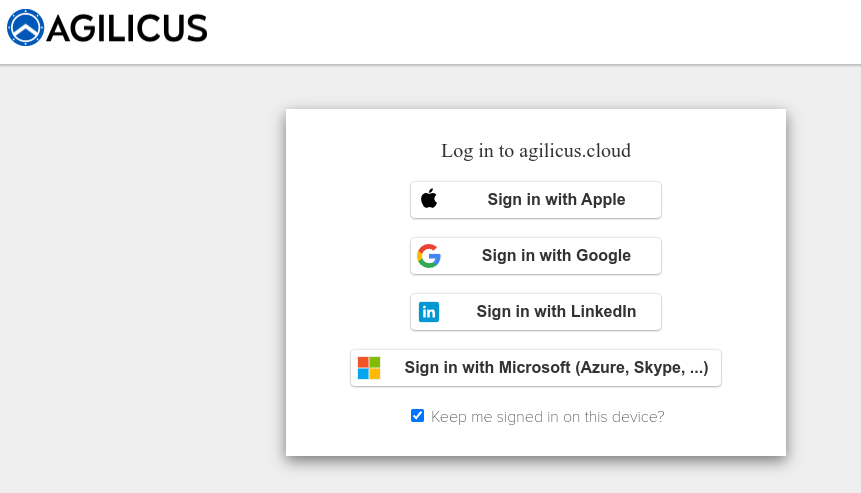
Select either ‘Microsoft’ or ‘Google’. You will then see a familiar sign-in screen.
If you use Google Workplace, or Gmail, use ‘Google’.
If you use Microsoft Office 365, Azure, Entra, Hotmail, Outlook, use ‘Microsoft’.
You will then be redirected to the normal sign-in experience for your Identity Provider.
Step 2: Set Up Your Organisation Name
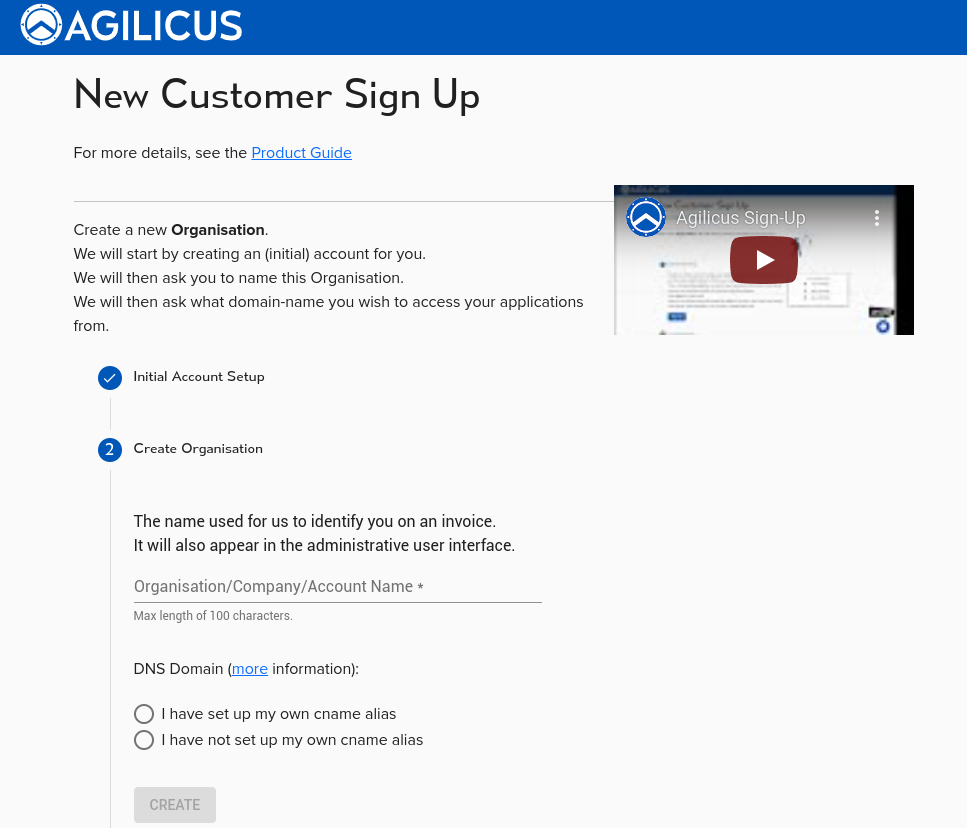
Here you are being asked to name your setup. This is typically your company name. This name will be seen on invoices and other administrative sections.
Regular users won’t see it.
Step 3: Choose a Domain Name
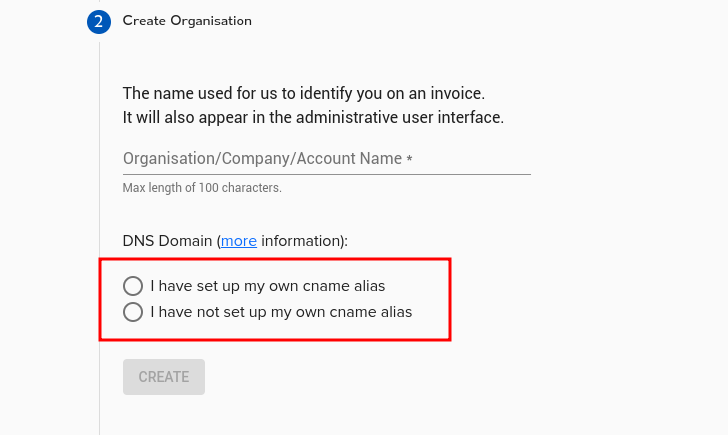
Every resource you create will have a web address format like this: https://<RESOURCENAME>.<DOMAINNAME.>
You have two choices:
1. Simply use a domain we provide (like “myorg.agilicus.cloud”).
2. Use your own sub-domain (like ‘cloud.mydomain.com’). This is recommended for better security training.
Learn more about CNAME and wildcard.
Option 1: Use an Agilicus Domain
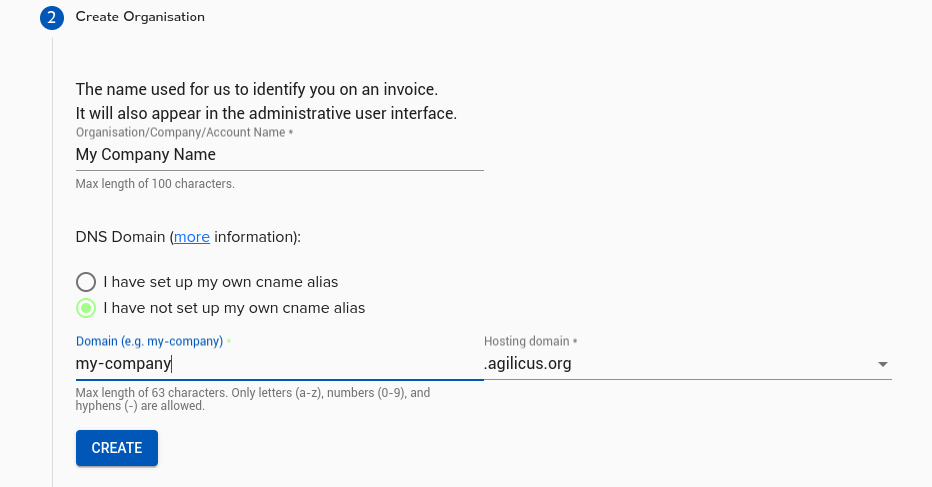
Pick “I have not set up my own cname alias”.
Choose a sub-domain and an Agilicus domain, then click “Create”.
Option 2: Use Your Own Domain
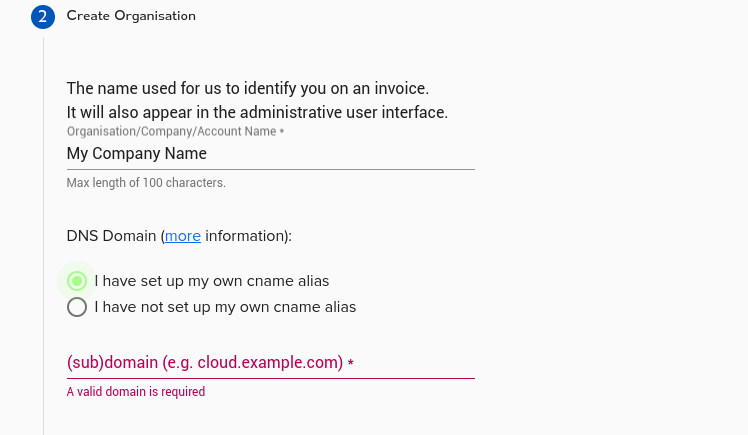
Pick “I have set up my own cname alias”. In your DNS tool (like GoDaddy), create a new sub-domain. Point a wildcard CNAME record (like *.cloud.MYDOMAIN) to ca-1.agilicus.ca. If you use internal and external DNS, set up both. Click “Create”.
Step 4: Sign In to Your New Account

You’re nearly done! The system is now creating 3 new web areas:
1. admin.MYDOMAIN: The admin webpage.
2. auth.MYDOMAIN: For authentication (you won’t go here directly).
3. profile.MYDOMAIN: A launch pad for end users.
After these are set up, you’ll be prompted to sign in again. Sign in using the same account from Step 1. You’ll see a guide to help you further, and you’re all set!