Setup SNI-Based Camera Routing From NVR
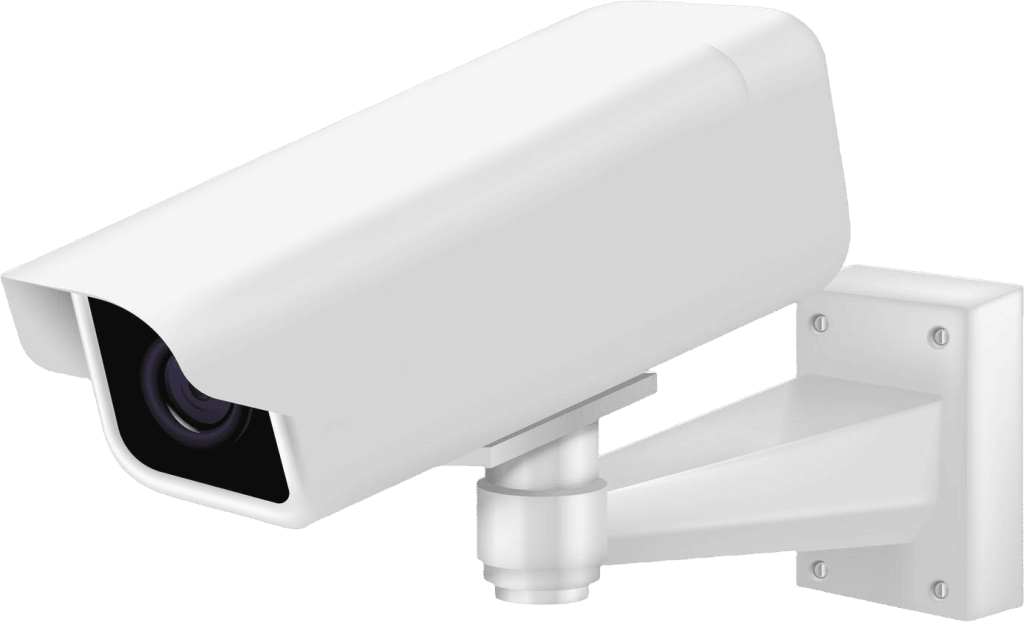
Imagine you have a network video recorder (NVR) which is located centrally. And, you have a remote site with a surveillance camera that speaks HTTPS (the below instructions are not suitable for RTSP). The remote site is served via Starlink, which has no possibility of inbound access due to NAT.
If you have an architecture where you normally use a fixed-IP and a port-forwarding system, you might find SNI-based routing can be an appropriate substitute. This example gives some tips on setting this up.
High Level Steps
- Signup (https://www.agilicus.com/anyx-guide/signup/)
- Create connector
- Create Web Application
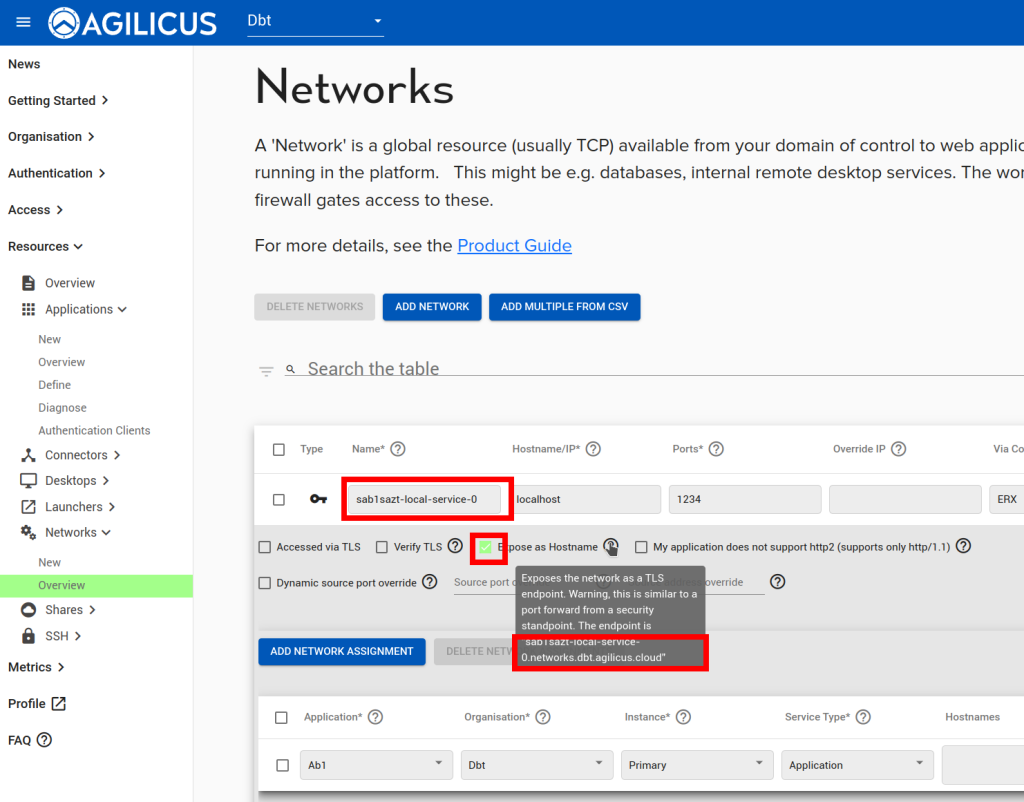
- Modify Network to be ‘Expose as Hostname’
- Configure NVR to use external name.
Create Web Application
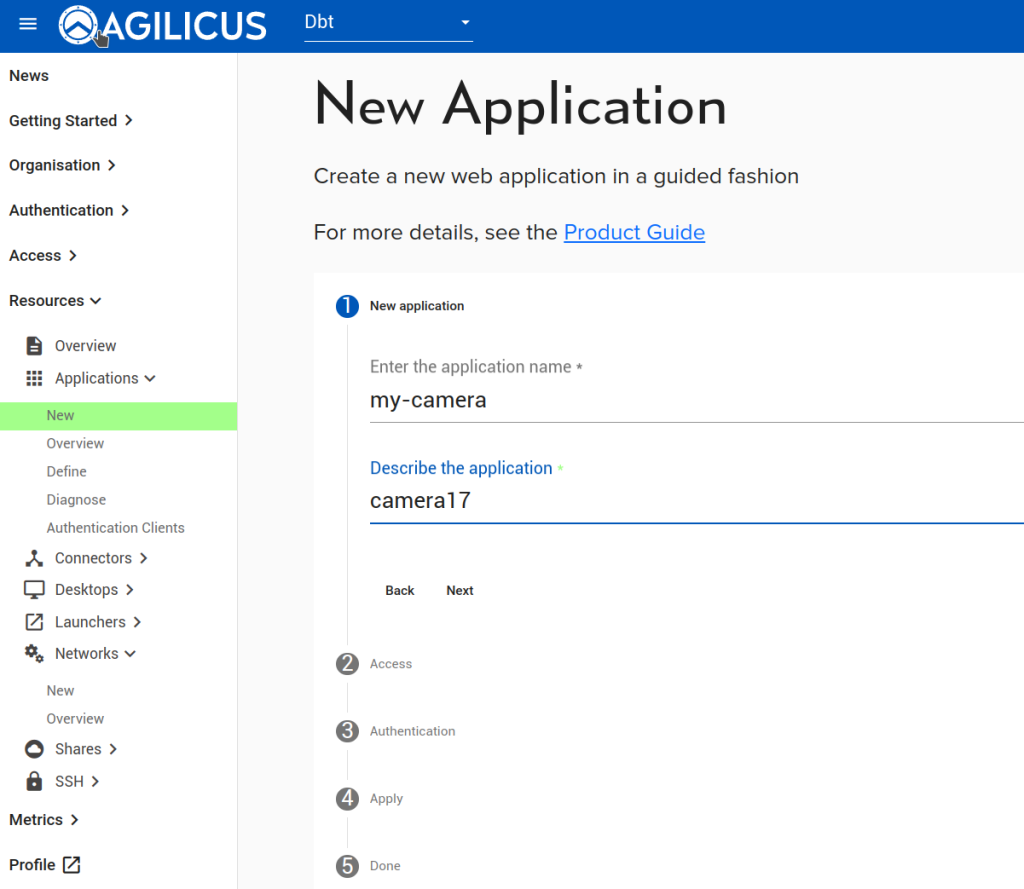
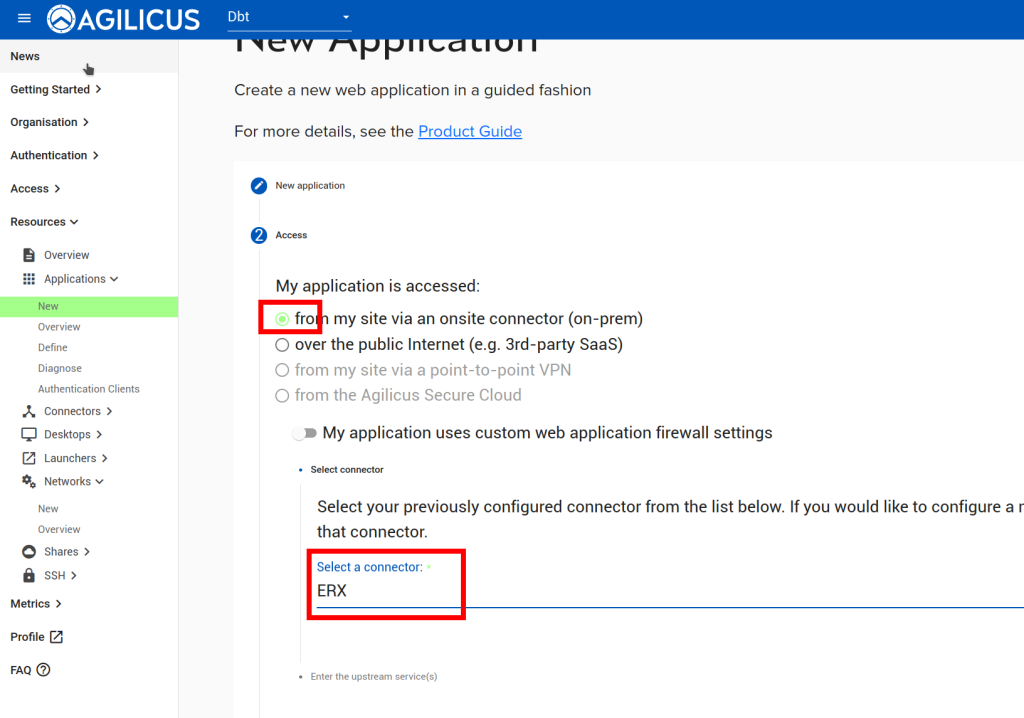
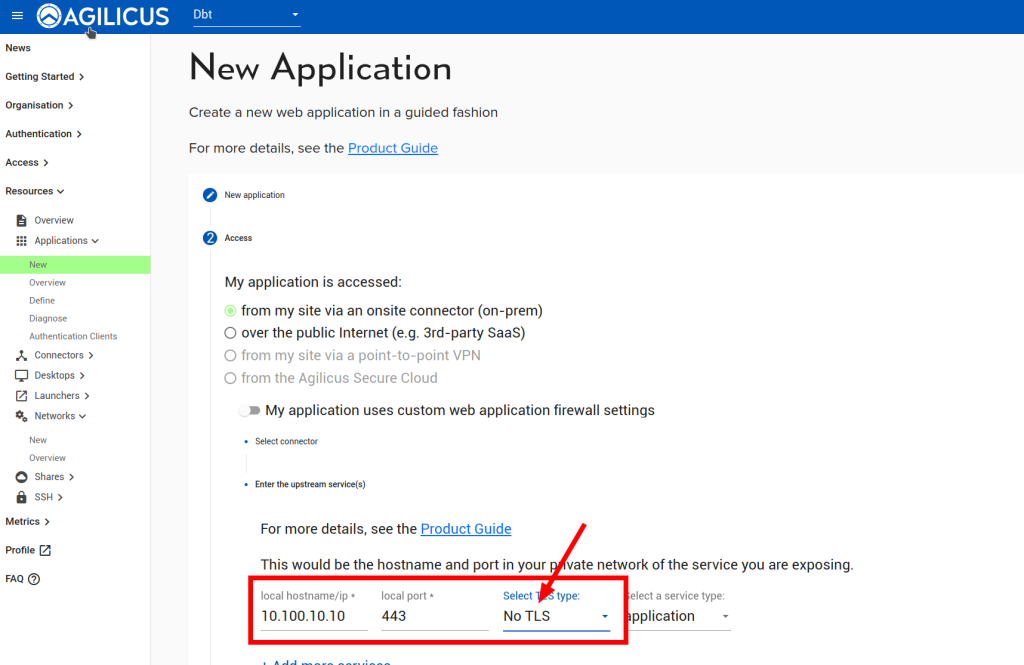
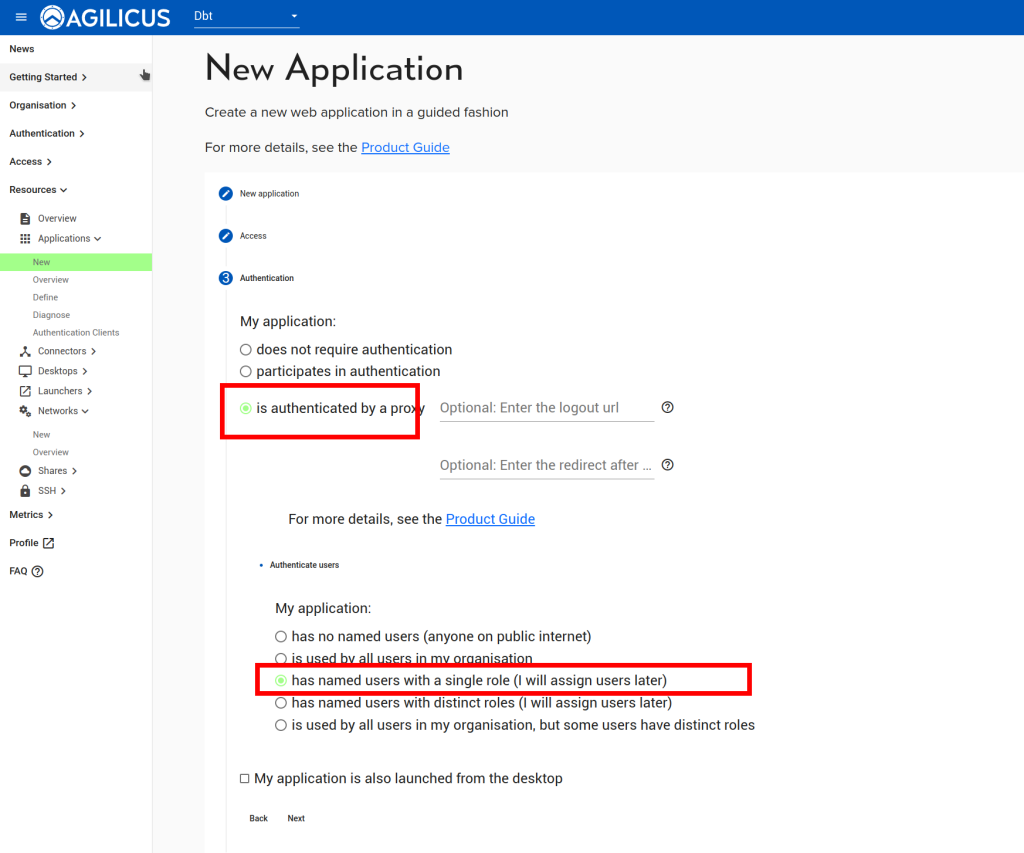
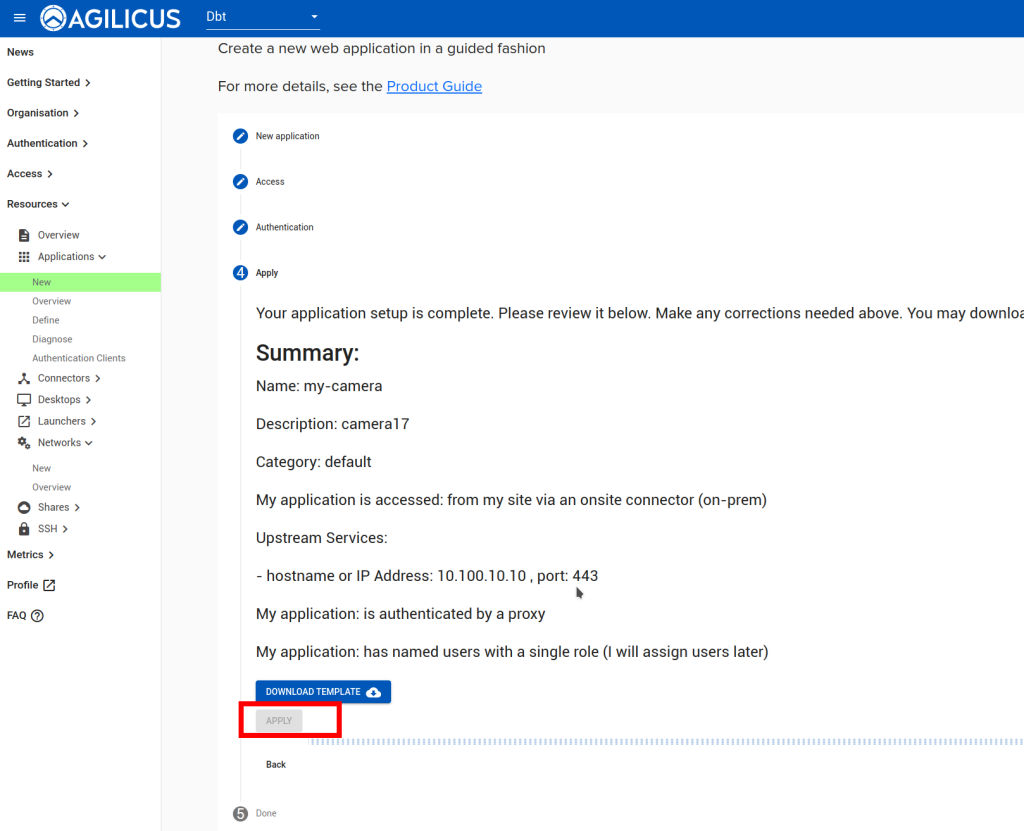
Select Resources/Applications/New, give the camera a hostname (this needs to be a valid Internet name). Select ‘from my site via onsite connector’, select the connector you created above.
For the upstream, the IP (or hostname) will be the *internal* one, e.g. what the Connector would see or talk to. You may need to select one of “No-TLS”, “TLS-AND-VERIFY”, “TLS-AND-NO-VERIFY”, depending on whether your camera is setup with encryption/https.
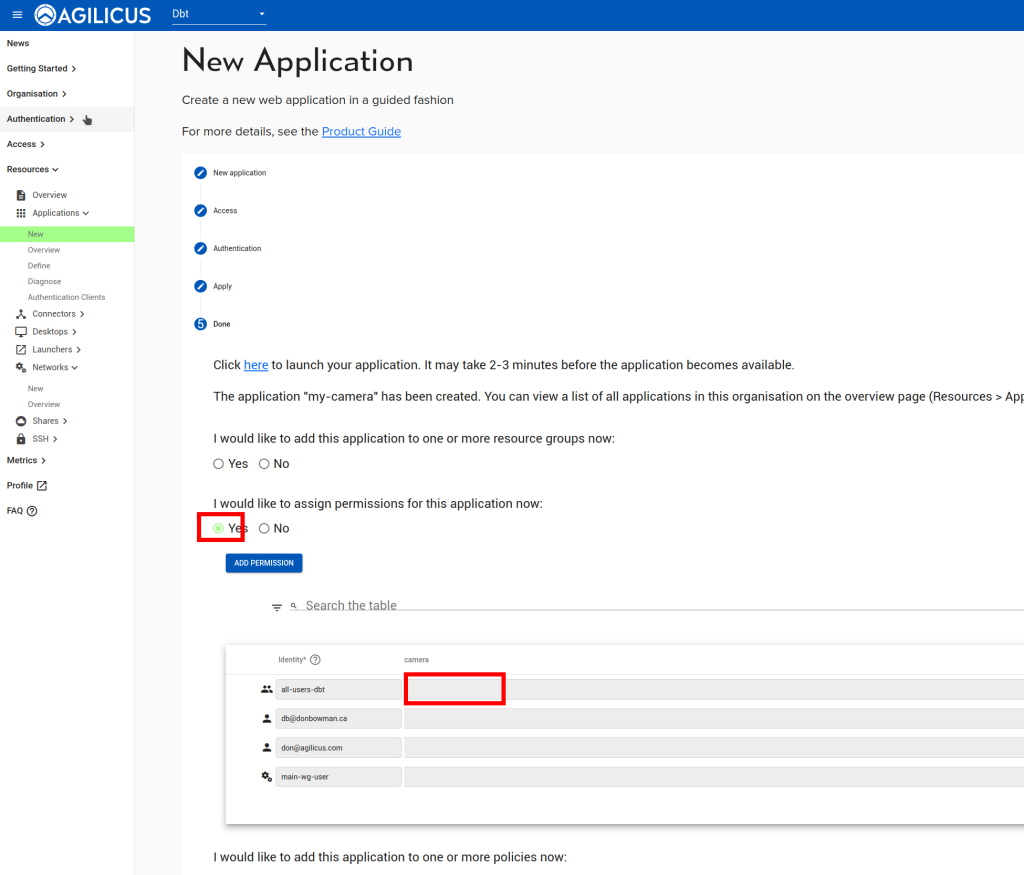
Now apply permissions to yourself. At this stage you can test the camera (e.g. open your mobile, turn off WiFi, open https:///profile.__MYDOMAIN__/ and then select the camera, or, navigate directly to its url, https://<my-camera>.__MYDOMAIN__, where my-camera is the name you gave it, and __MYDOMAIN__ is the domain you chose when signing up to Agilicus (its in the top URL bar of your admin web interface).
Modify Network
At this stage we will enable direct routing (disabling the firewall). We do this by finding the backend network created above, selecting ‘expose as hostname’. Note the exact hostname given, something.networks.__MYDOMAIN__. This should now be available for your NVR to connect to.
