Logos, Fonts, Colours: Theming Agilicus AnyX
Agilicus AnyX supports personalising the sign-in and usage environment to match your corporate brand. This is more than just asthethic: a consistent look and feel helps train users to reduce the likelihood of a successful spear-phishing attack.
Setting up your theme on Agilicus AnyX is quite simple. The basic steps are:
- Download template
- Modify template
- Test locally in browser
- Upload template
- Test live
So lets get started. Before you start, you will want 3 files that can often be found on your company website:
- favicon.png. This should be a square-aspect ratio, usually 256×256 or 512×512, of your company logo. It will show in a browser tab.
- logo.png. This should be rectangular in size, approximately 1600×300 resolution. This will show in Profile in place of the Agilicus logo. We recommend a transparent background, and a foreground that will look proper with a blue background (#0057b8).
- my-login.svg. This should be a square-aspect ratio svg, it will show in Profile in place of the Agilicus logo. The foreground should work with a blue background (#0057b8)
NOTE: Remote Links, Content-Security-Policy
❗
The Agilicus AnyX uses a strong, restrictive content-security-policy. This prevents linking to external 3rd-party css/js/images/fonts during the sign-in process. These must be mirrored into the theme file and served via the platform to be used.

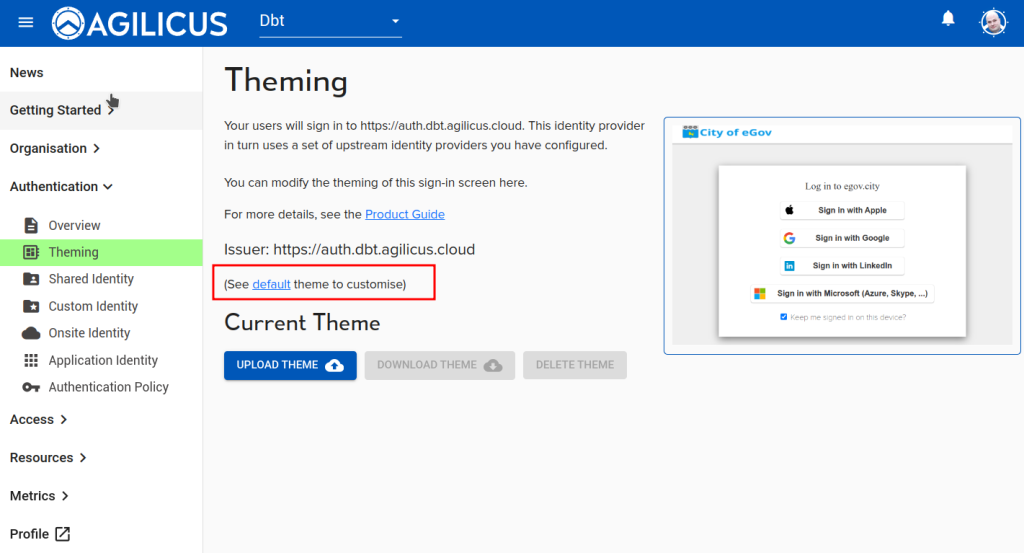
First, we will download the ‘default’ theme.
This default theme can be unpacked somewhere on your computer.
The ONLY files you can modify are in the ‘theme’ subdirectory. The rest are read-only and just for the purpose of testing on your desktop.
When you re-pack this file, repack from the root directory, e.g. your new zip file should look the same as below, with an ‘index.html’ file in the top directory, and a theme-subdirectory.
You may add fonts/logos/etc to the theme directory and refer to them by relative path.
Once you have downloaded and unpacked this file, you will see the below contents. Do not change files other than in the theme directory (your changes will be ignored by the system). Overwrite the favicon.png and logo.png files in the theme directory. You may now proceed to testing.
├── agilicus_error.html
├── approval.html
├── challengedeclined.html
├── endsession_prompt.html
├── error.html
├── footer.html
├── header.html
├── index.html
├── login.html
├── mfa.html
├── oob.html
├── password.html
├── README.md
├── scripts
│   ├── end_session.js
│   ├── login.js
│   ├── mfachallenge.js
│   ├── password.js
│   └── wasthisyou.js
├── static
│   ├── font
|   |    . . .
│   ├── img
│   │   ├── apple-icon.svg
│   │   ├── bitbucket-icon.svg
│   │   ├── coreos-icon.svg
│   │   ├── email-icon.svg
│   │   ├── github-icon.svg
│   │   ├── gitlab-icon.svg
│   │   ├── google-icon.svg
│   │   ├── ldap-icon.svg
│   │   ├── linkedin-icon.svg
│   │   ├── microsoft-icon.svg
│   │   ├── oidc-icon.svg
│   │   ├── saml-icon.svg
│   │   └── yahoo-icon.svg
│   ├── index.html
│   └── main.css
├── theme
│   ├── favicon.png
│   ├── logo.png
│   ├── my-login.svg
│   └── styles.css
└── wasthisyou.html
Testing Your Changes
On your desktop, in the directory you have unpacked the files, there is a file ‘index.html’. Double-click this, it should open in your browser. You can now see a list of links to the various pages, try each one to assess your changes. You may edit the styles.css and reload in the browser to iterate.
Once you are satisfied with your changes, proceed to the re-pack and re-upload.
Upload Template

Now that you are satisfied with your changes, make a zip-file of the entire directory structure you unpacked. E.g. ‘index.html’ will be in the root directory of the zip, and theme will be a sub-directory.
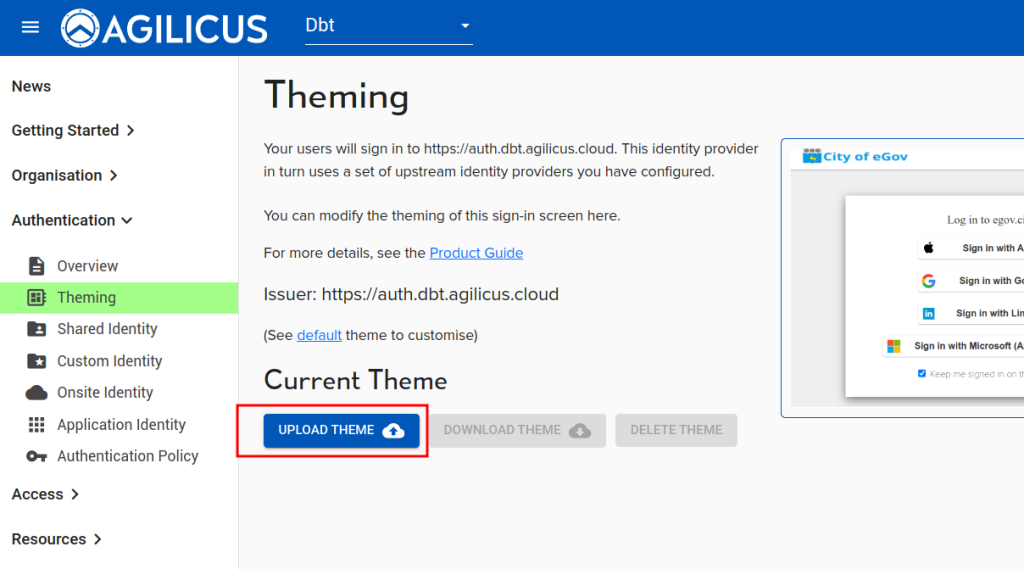
From your browser, use the UPLOAD THEME button in Authentication/Theming. Select the zip file you just made.
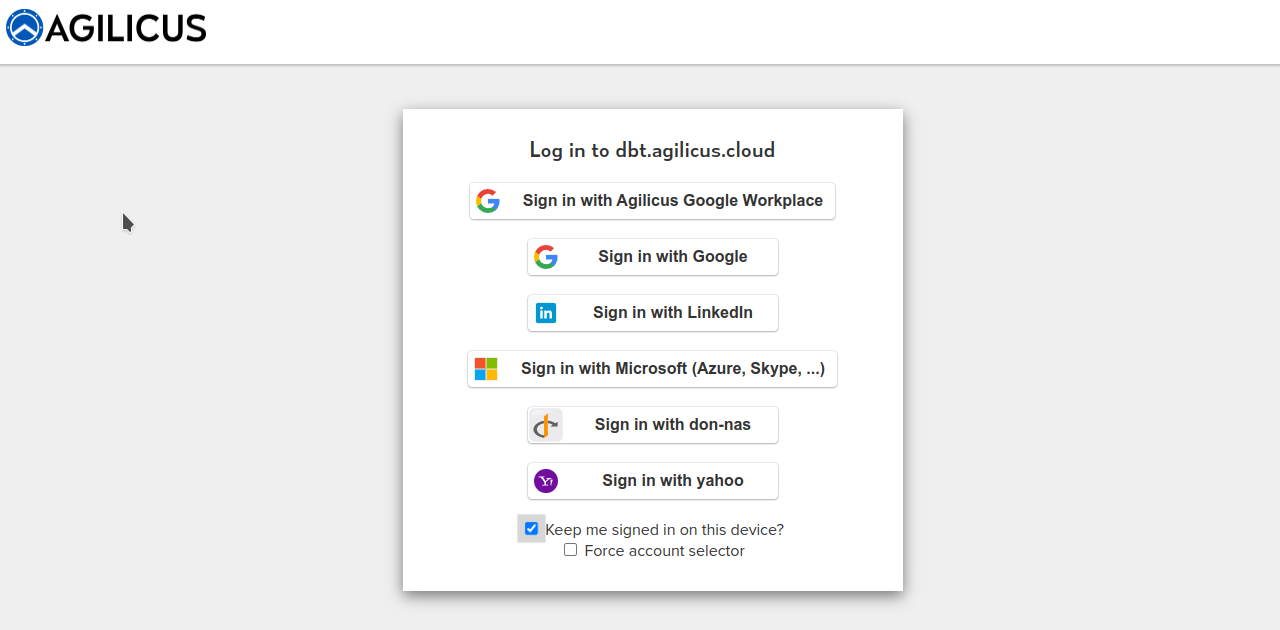
The theme will take affect after approximately 60-90 seconds. You may then test by signing-in again (e.g. in an incognito window).
NOTE: Browser Caching
❗
Your browser may cache the icons and fonts. Flush your cache if they do not seem to have changed.
Custom fonts
You may add your own fonts. To do so, we will do these steps:
- Create a font-face entry in theme/styles.css
- Add font-files to theme/my-font/
- Adjust h1/body entries in theme/styles.css to reference your font
@font-face {
    font-family: 'My Font';
    src: url('/static/theme/my-font/my-font.woff2') format('woff2'),
        url('/theme/my-font/my-font.ttf') format('truetype'),
    font-weight: 900;
    font-style: normal;
}
Once you have added your font, in theme/styles.css, you might change these two lines:
h1,h2,h3,h4,h5,h6{font-family: 'My-Font';}
body{font-family: 'My-Font';}
Next Steps, Other Ideas
You might consider modifying the styles.css to set a background image, to change hover behaviour, etc.
To change the background image and colours, consider e.g. put an image called ‘background.jpg’ in the theme dir, then add a background-color/image/repeat to body or navbar as appropriate:
.theme-body {
  background-color: beige;
  background-image: url("background.jpg");
  background-repeat: no-repeat;
}
...
.theme-navbar {
  background-color: beige;
}

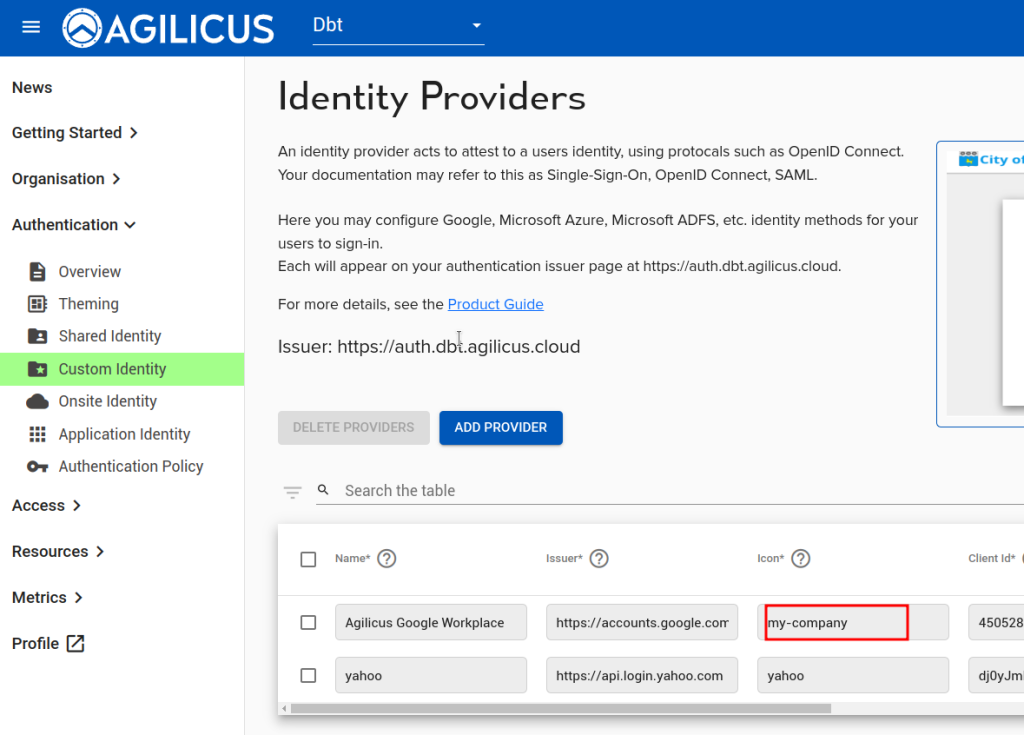
You may also have your own identity-provider and wish to change its icon (the Microsoft and Google ones are default). To do so, you will need an SVG file which is square in aspect ratio (see the my-login.svg as an example).
Add your ‘my-company.svg’ file, add a section in styles.csss to reference it:
.dex-btn-icon--my-company {
  background-color: #FFFFFF;
  background-image: url(my-company.svg);;
}
Once done, set the ‘Icon’ field in your identity provider to match the name.
Update Footer
The default footer is an empty ‘div’ with class theme-footer, you may modify this in your styles.css if you wish.
